|
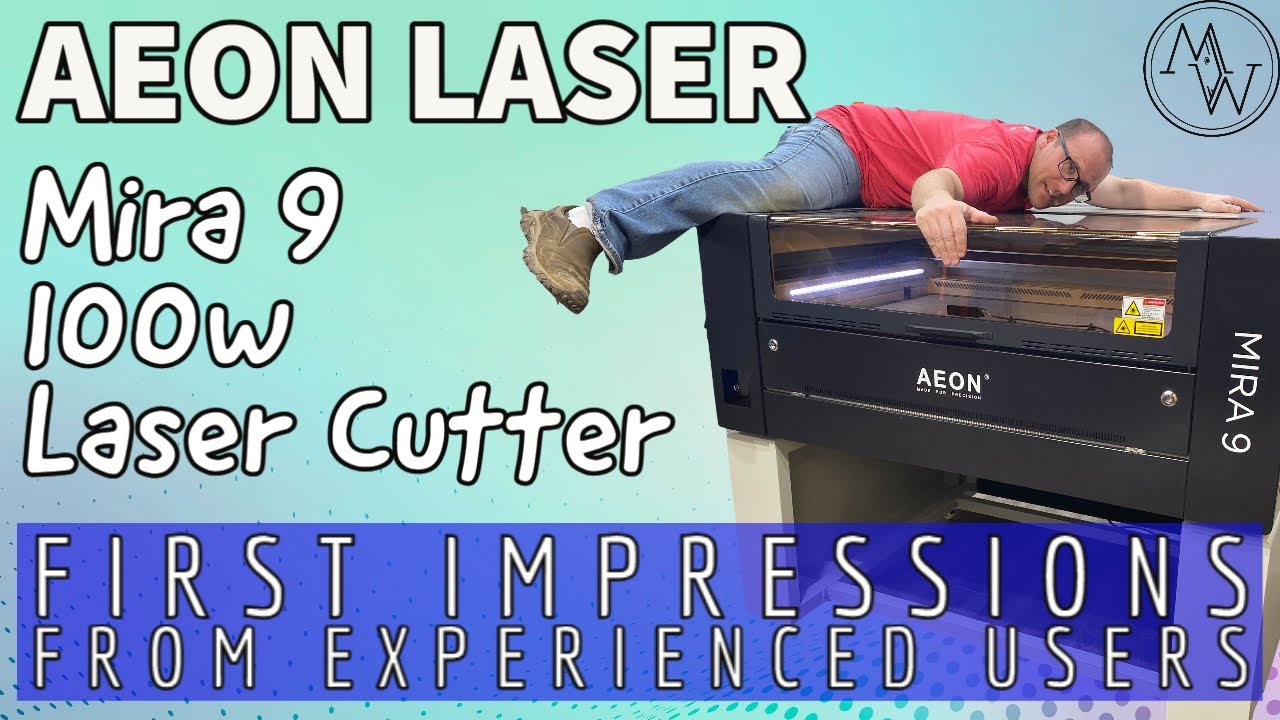
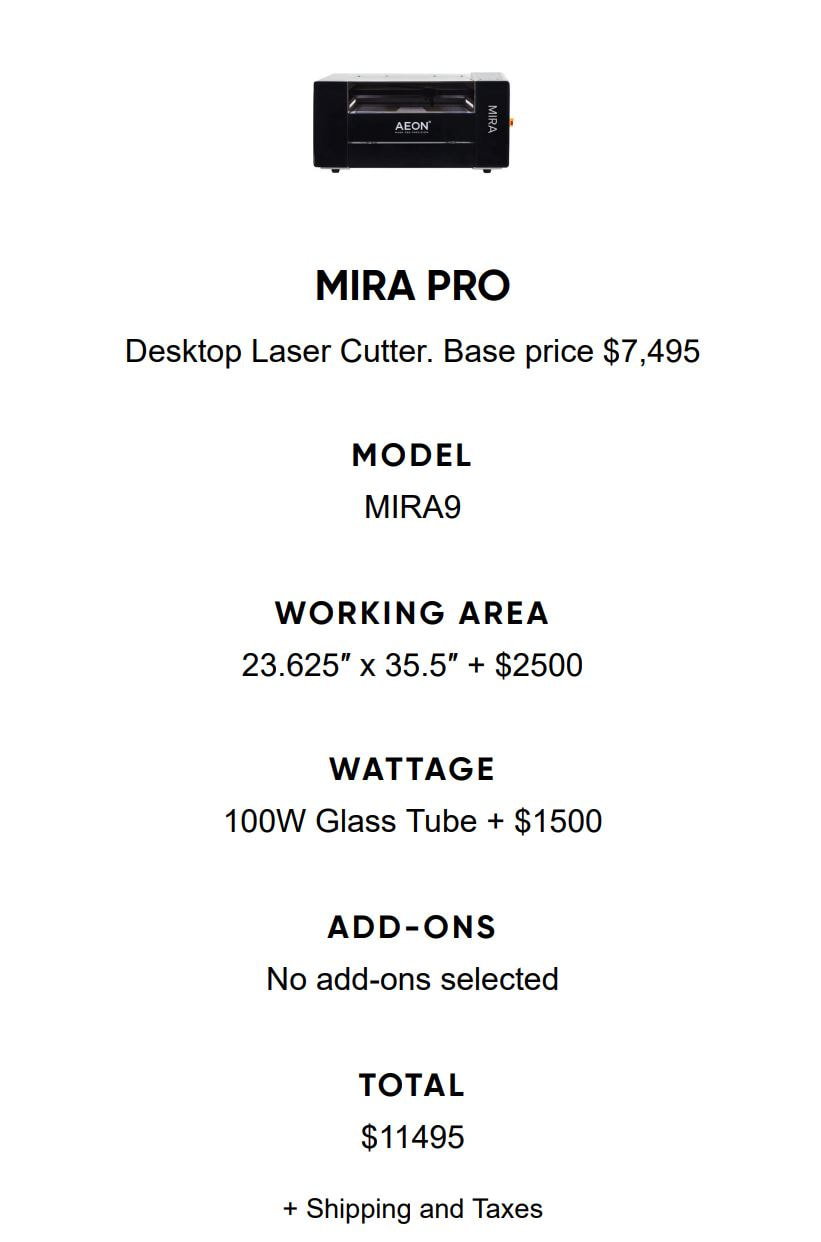
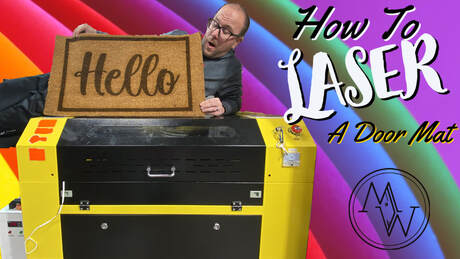
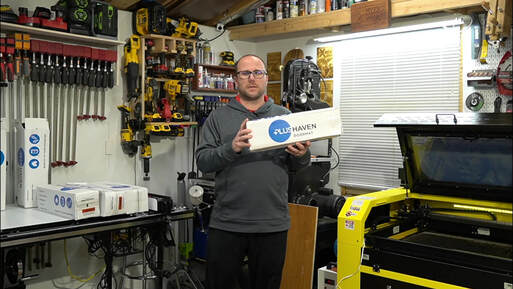
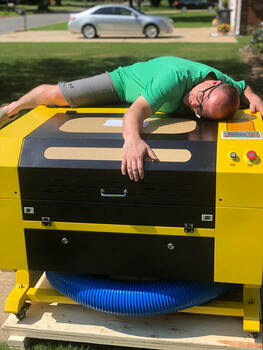
If you've been following me on YouTube or social media, you've seen me us a bunch of lasers, most specifically, the black and yellow OMTech 60w. While it's been a great laser, it's on the lower end of the features and price range for a co2 laser. It was time for an upgrade to a more powerful laser with more features. This is when I found Aeon Lasers! Aeon Laser USA is located in Melbourne, FL. With over 12 years of experience, they provide an incredible amount information and training. They care that each customer gets up and running and know how to use their laser.
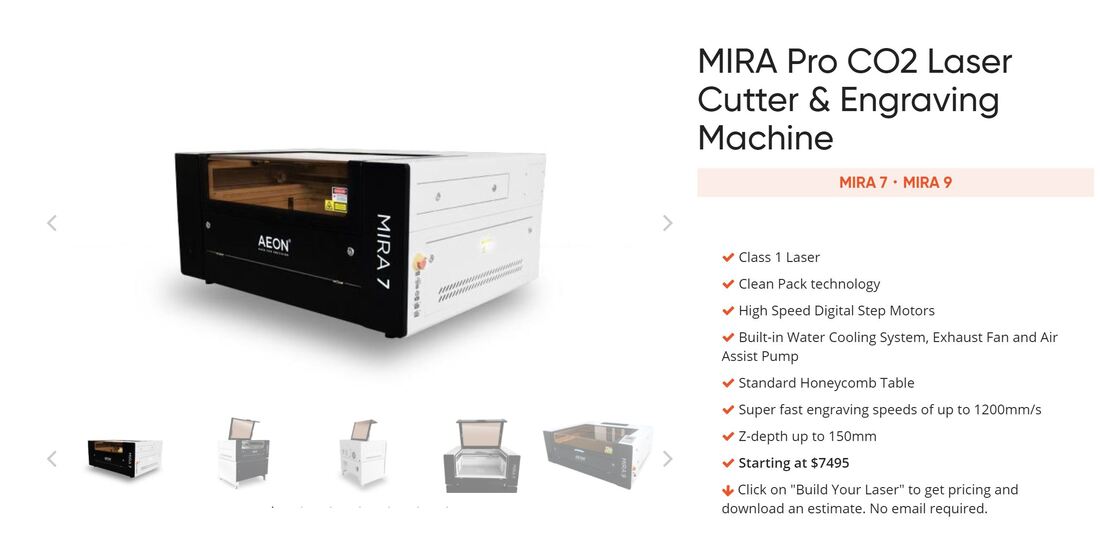
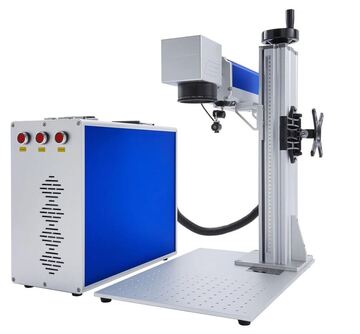
Some other key features included a dedicated rotary port, large open window for viewing with a safety switch, full led lighting, motorized z, auto focus of z, faster engraving speed, built in WIFI, and incredible customer support, training, and online instruction. So far, I'm extremely happy I've made the upgrade. When considering a CO2 or Fiber laser, take a serious look at Aeon Laser US as a contender!
2 Comments
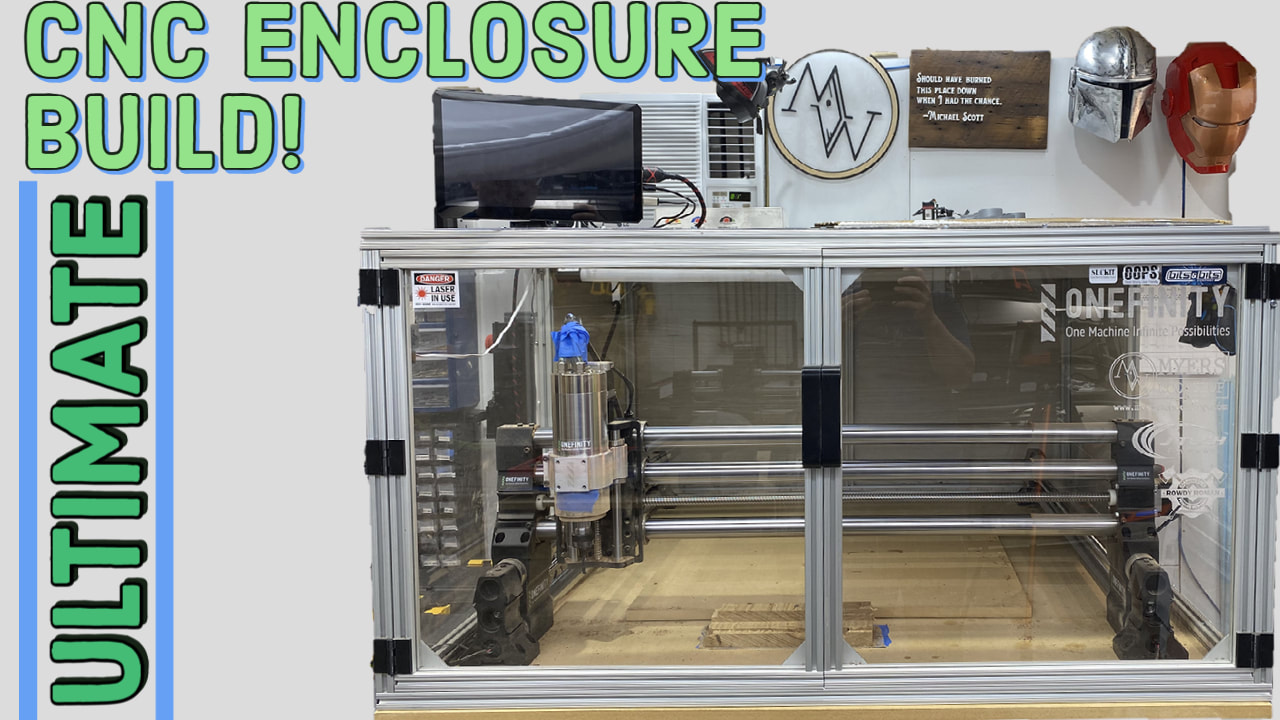
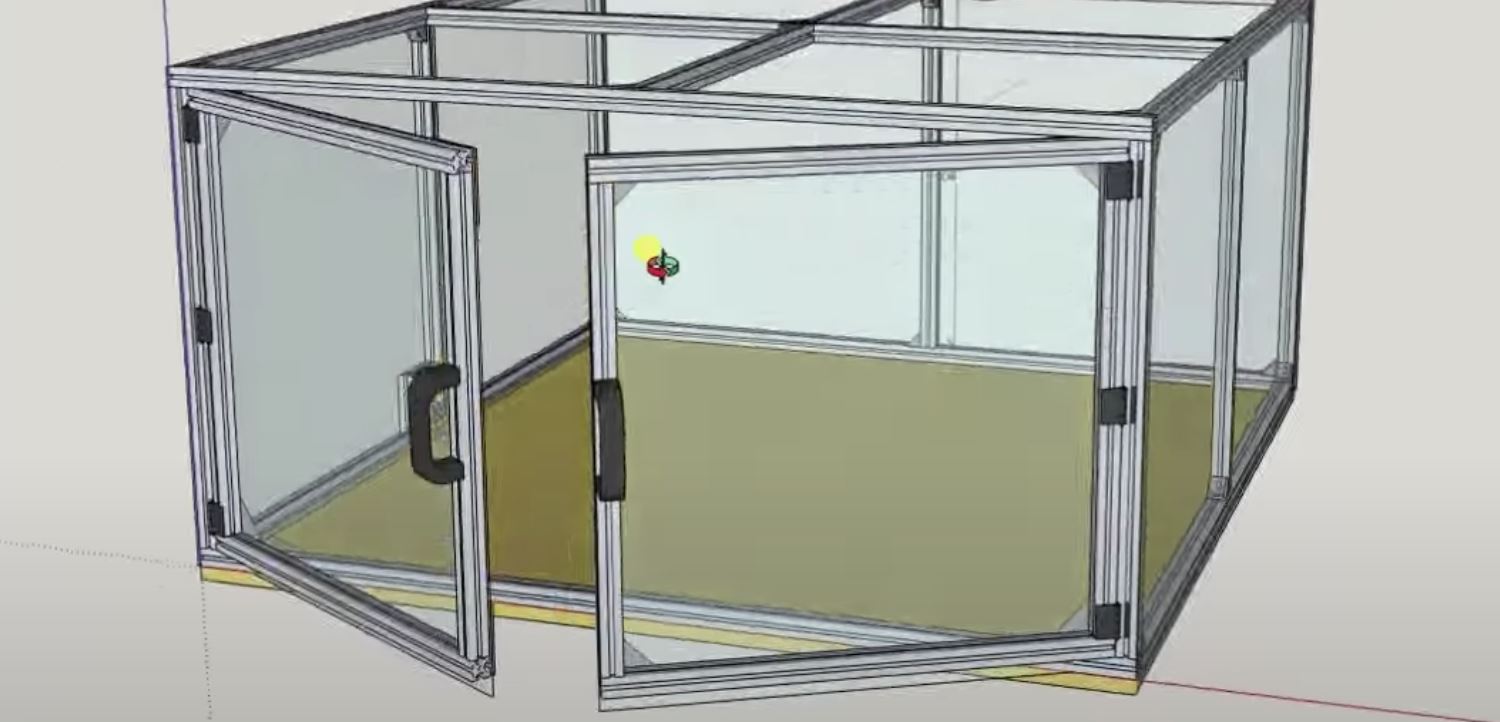
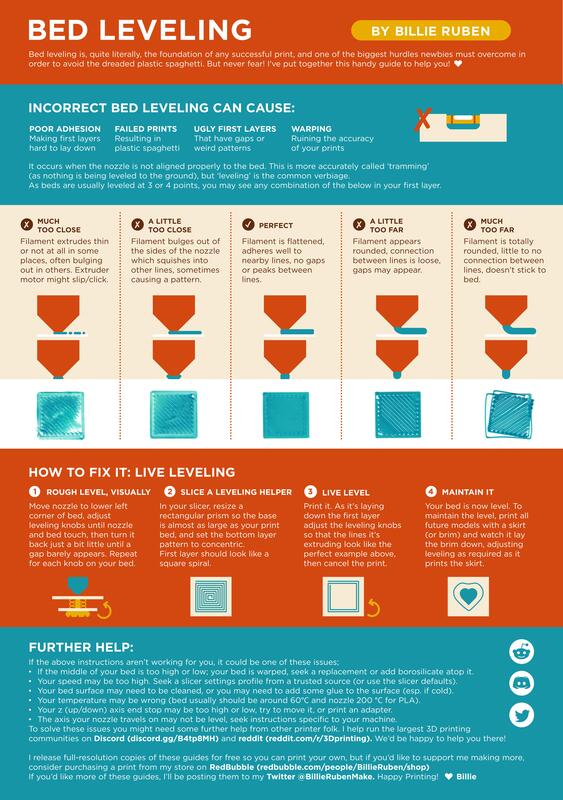
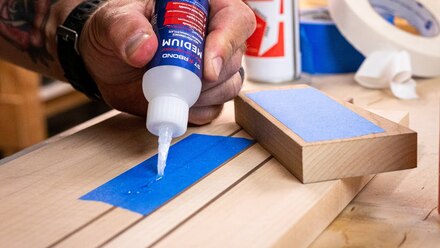
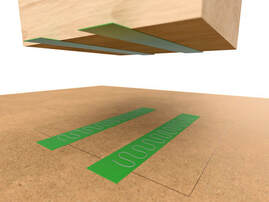
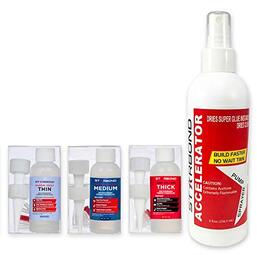
Ever wanted to make an enclosure for your CNC machine? Follow along with my ultimate CNC enclosure build video! I used aluminum extrusion, acrylic, and wood panels to make mine. Most items were purchased from Amazon and Lowes. Make one yourself? Link it in the comments so we can see it! Visit https://www.rowdyroman.com to purchase the hinges, handles, and accessories in this video! Things you'll need: 10 Sticks of 80/20 Extrusion 97" long : https://amzn.to/3ba2gzr 2 packs of Extrusion connector set : https://amzn.to/3u5TKu0 1 pack 10 of L Shape Plate : https://amzn.to/3baWo8V Self Tapping Screws : https://amzn.to/2LZTknG Acrylic Sheets: https://www.lowes.com/pd/OPTIX-0-118-in-T-x-36-in-W-x-72-in-L-Clear-Acrylic-Sheet/3140717 Wood panels : https://www.lowes.com/pd/Oak-47-75-in-x-7-98-ft-Embossed-White-Oak-Wall-Panel/1000937538 VHB Tape : https://amzn.to/3aquJBO Hole Saw Set : https://amzn.to/2NbPFDP VHD/Spindle : https://amzn.to/3avQ3Gh USB C Extension cable : https://amzn.to/3arXoXm HDMI 6" cable : https://amzn.to/3rU1r4m Spray Adhesive : https://amzn.to/3qrSK15 Acoustic Sound Panels : https://amzn.to/3rZVtin LED Light Strip : https://amzn.to/3bbGzz1 4" Shop Light Bar : https://amzn.to/3dkXkdy Vacuum : https://amzn.to/3rYUXkF Tools Today Aluminum Blade : https://amzn.to/3dqFAxH Miter Saw : https://amzn.to/3qodSFg Miter Saw Stand : https://amzn.to/3asj2up Onefinity CNC : https://www.onefinitycnc.com Rowdy Roman Stuff: www.rowdyroman.com www.etsy.com/listing/964289473/myers-wood-shop-enclosure-handles-and https://www.etsy.com/listing/950334432/digital-files-myers-wood-shop-enclosure I use a CA glue a lot in my woodshop. It has many applications with so much of my things I use. It's perfect for use on 3d printed parts. When doing a model, sometimes I make models and split them in half to save from printing. Ca glue is perfect for this application as it only takes several seconds to fully dry. Even faster with the accelerant! It's also perfect for laser projects. One of the things you'll inevitably make is a name sign or door hanger. This usually requires cutting a shape like a circle as the backer, then cutting some cursive letters. Starbond is the glue I use to adhere the letters to the backer. It has no problem gluing to painted surfaces. The last, and probobly most used case for CA glue in my shop is on my CNC machine. It's something called the 'blue tape method'. Basically, the idea is to put on piece of painters tape on the underside of the material you're going to cut, and another onto the wasteboard. Then, put some ca glue between the two pieces of tape, a ca glue sandwich if you will, to create a perfectly heled piece that will will stay put during carving and be easily removable when it's finished. It also means there's not clamps or bolts that can be in the way of the endmill. Use Code 'myerswoodshop' at checkout to |
Categories
All
“As an Amazon Associate I earn from qualifying purchases.”
Archives
November 2023
|




 RSS Feed