
You did it! You just purchased A CNC. If this is your second (or 3rd or 4th :P ) CNC than you know what your getting into! If this is your very first step into the CNC world then you're probably feeling excited and a bit nervous! I remember when I got my first CNC. That feeling of excitement when UPS pulls up to the house and drops it off. Taking that first picture of the unboxing for Instagram. Painstakingly going through the instructions making sure I assemble it just right. Then, taking a step back, looking at what I just built, and thinking "Ok, how do I make this thing work?"
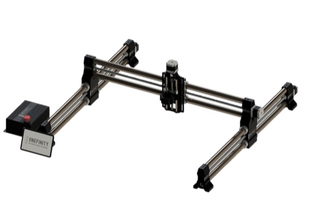
In this post, i'll be referring to the Onefinity CNC, as this is the current CNC I have, but this will be helpful for most every CNC on the market. 1: Router
Or Spindle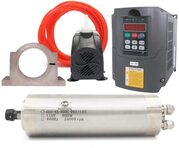 Click HERE to buy the spindle Click HERE to buy the spindle
Ah, a proper spindle. If you've been doing your research on CNC machines you've inevitable seen many posts about getting a spindle. Since I'm one of the few with a machine, I'm obviously getting tons of questions about it. And the 'can this run a spindle?' was one of the top requests. So, without ever using one, let alone ever seeing one in person with my eyes, I made a leap of faith and purchased one from amazon. I've created a video all about that HERE (Link to come once I actually edit the video). I'll sum up the video by saying this: It is super quiet and it is not worth the hassle for 95% of you buying the machine. If you are brand new to CNCs, stop right here and skip to the next section. A spindle is not for you. If you are more 'seasoned', a spindle may be for you. I've realized why very few hobby cnc machines officially support it. You have to wire EVERYTHING yourself. And by that I mean, it literally comes with no wires. Wiring 2 and 3 phase stuff that could potentially KILL you is probably not something they want to promote...and only a finite amount of people will actually use one, so it's not worth the liability, support, and $$ to promote one. That being said, it will be really hard to go back to the ear deafening sound of a router now that I've run a spindle.
2: BITS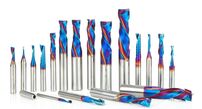
A router or spindle are great at spinning around but they wont cut anything without a bit inside them. There are countless options in this, each with their own specific purpose. I've already written up a pretty lengthy blog post previously on my preferred bits and that applies to the Onefinity. You can check that out by clicking the button below.
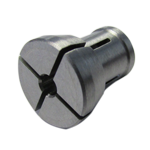
Collets. A Collet is an adapter to hold different sized bits. Every bit has a cutting diameter and a shaft diameter. The Makita router (and most routers) comes with a 1/4 collet. This means that you'll only be able to use 1/4 shanks (the smooth shaft part that goes into the router). Some smaller bits (like a 1/16 or 1/32) only have 1/8 shanks and will not work in the standard collet. You'll need to purchase a 1/8 collet. A great place to buy very good collets is Elaire Corp. I linked a button to their Makita selection below.
3: Wasteboard
Since the default configuration of the Onefinity CNC is open on the bottom, once you attach it to the table you'll want to provide a sacrificial wasteboard as a carving surface and a place to hold down your material. I'm kinda biased here...but I've designed one that most people refer to as the "Myers Wasteboard" (or mEyers if you can't spell my name right). I think its the best one you can get, but i'll leave that up to you. All you'll need is a piece of MDF and your machine will do the rest of the work. The file is specifically designed for the Shapeoko 3 but since it has very similar cutting sizes, it will work perfectly for the Onefinity CNC as well. (Version 2 with Microjig is coming soon) There's plenty of info about this out there so I'll link the relevant stuff below:
4: Clamps
3: Cam, fence, and L clamps. To go along with my wasteboard I designed a bunch of different clamps. I've created a blog post and YouTube video to explain them. They work really well and leave no marks on your material. Also, since they are low profile and made from mdf, you don't have to worry a about running into them with a bit and breaking the bit or the clamp. The video and files were designed for the Shapeoko 3, but will perfectly apply to the Onefinity (and any other CNC) just as well.
5: CAD (Design Software).
Carveco was gracious enough to provide a discount code for my followers. Use code "myerswoodshop" for 5% off!
I have made a bunch of videos showing how to use Carbide Create (free). I'll be doing more on other software in the future. Check out my Carbide Create series below.
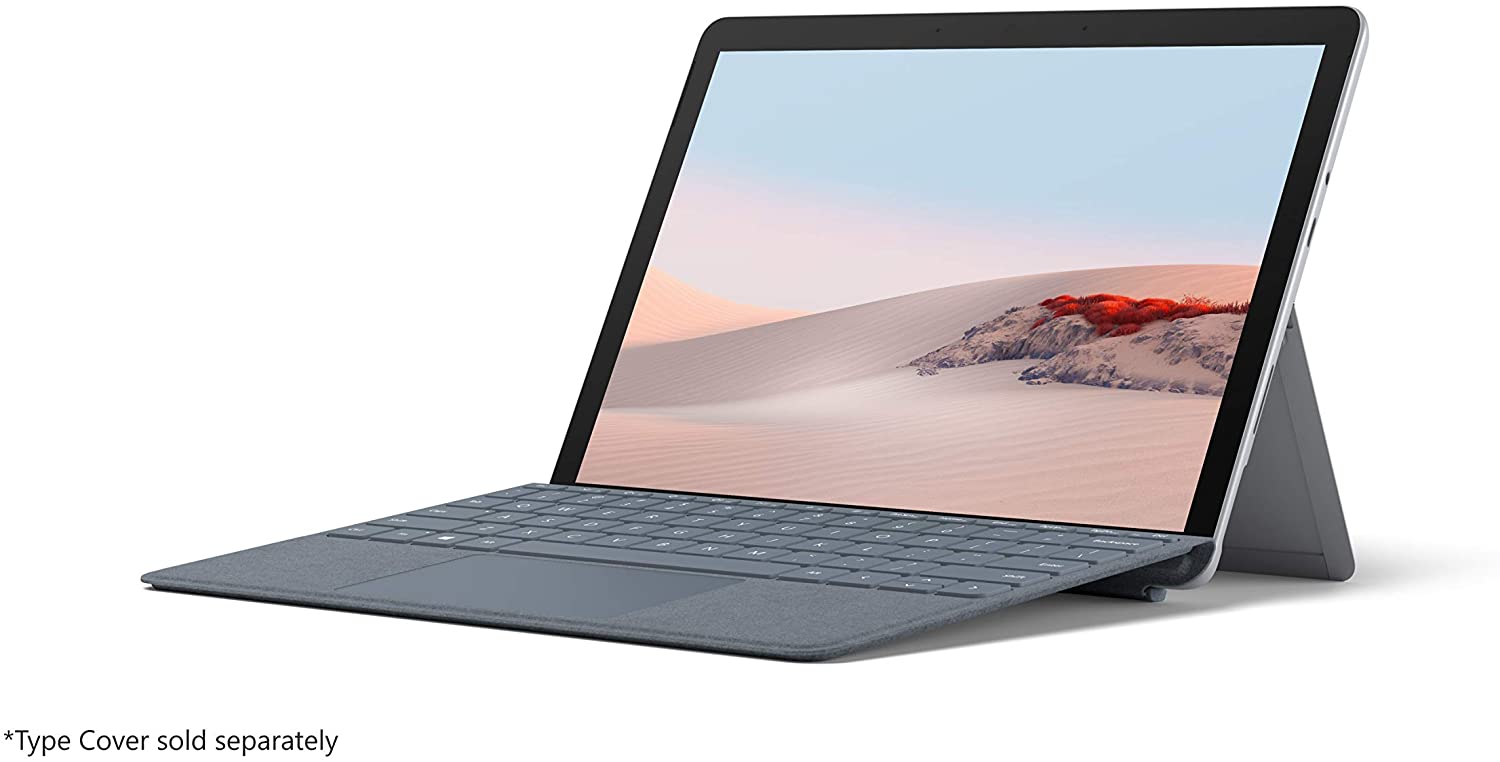
6: A Computer
You'll need a computer for one of two reasons (or both in some cases) for CNC machines. The first is programing the CAD (design) software. The second is actually sending the gcode created from that CAD program to the CNC machine (by using CAM software (motion control)). For most hobby cnc machines you'll need to be teathered to the cnc via a usb cable during the whole cut. For the Onefinity CNC machine, you do not thanks to its controller with built in cam software. For designing CAD, you'll want something a bit more powerful (especially if your designing 3d files and not just 2d). For running CAM, usually a inexpensive computer will do just fine as its just streaming a small set of data over usb. I'll link my two favorite computers I personally use. Click the pictures to purchase.
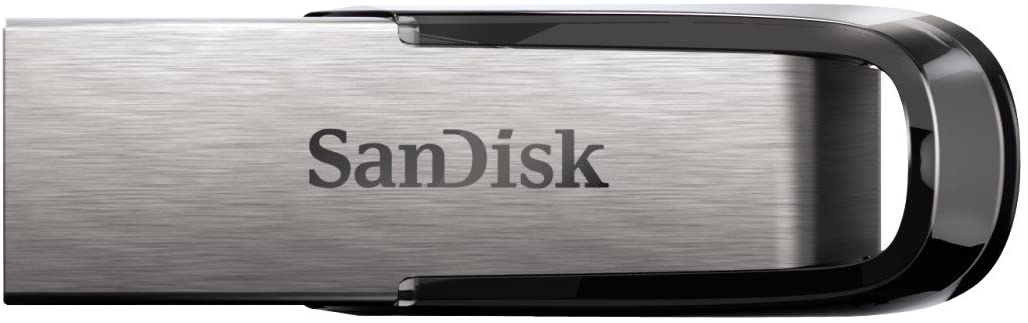
7: USB Stick
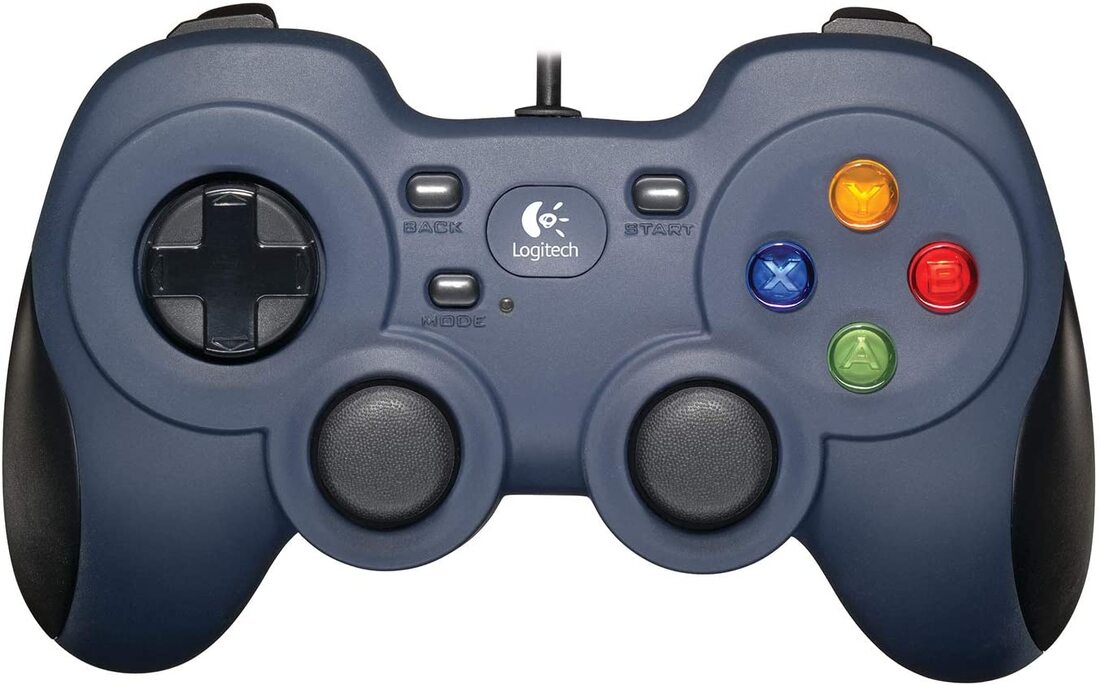
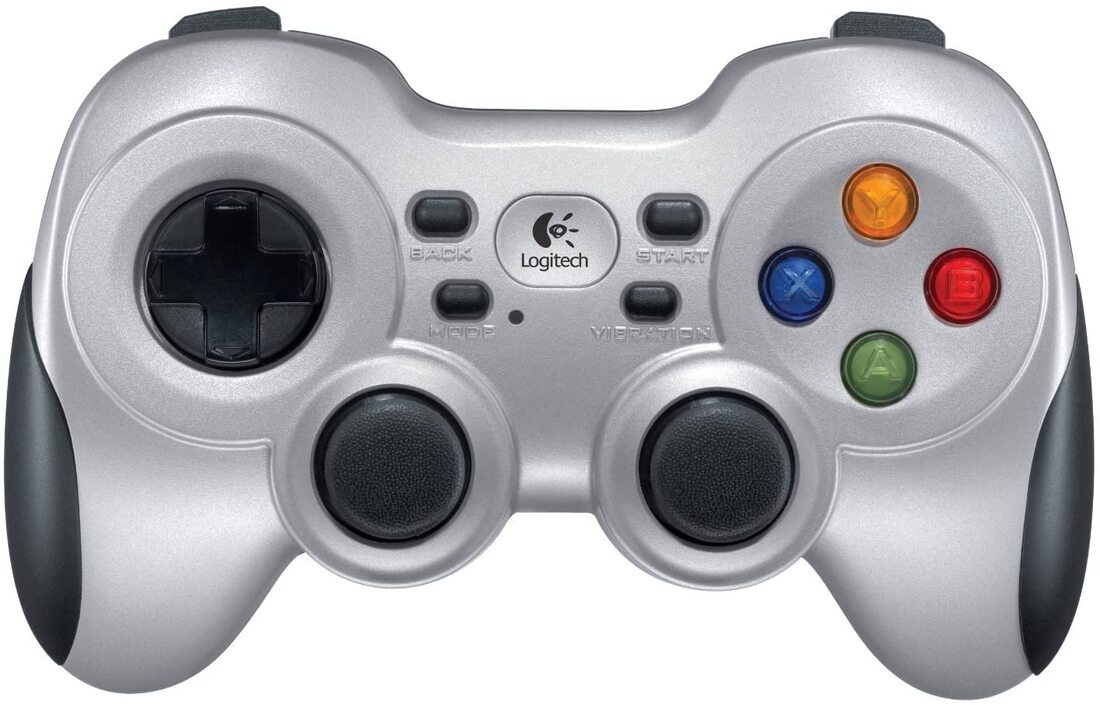
8: Joystick (Another Form Of Jogging)
There are many ways to jog (move) a cnc machine. Most included using the mouse and clicking on a computer screen. Some machines have the ability to connect a game pad to enable jogging. This is a nice feature as you can stand directly in front of the machine and watch it move rather then watching a screen. The Onefinity allows the use of game pads. I linked two below that I've personally used and tested (clcick the pictures to purchase). The blue one is a wired one, the silver one is wireless (I personally recommend going wireless!).
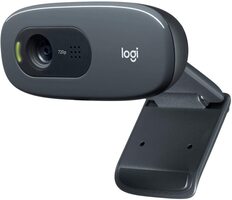
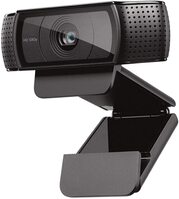
9: Webcam
Once you get cutting it's not really ideal to stand in-front of the machine for hours (although its NEVER recommend to not monitor the cutting process, you never know what could happen!) Fortunately we live in an always connected digital age. There are two ways you can remotely monitor the cut. One way that is specific only to the Onefinity is plugging in a usb webcam to the controller. If you do this, a box will pop up on the screen (that you can access from any device on the network) with a live video feed from that webcam. It's a really cool feature. I used two webcams (one a 720p and one a 1080p) and they've both worked perfectly. I'll link them below, click on the pictures to purchase.
10: Vaccum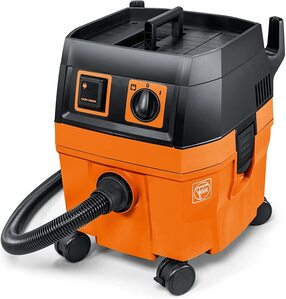
The unfortunate side of cutting on a CNC machine is dust. Lots and lots of dust. Some material is worse than others. MDF is particularly bad for your lungs, and cutting it creates A LOT of dust. The Onefinity CNC supports (and all preorders get) the Suck It Dust Boot. This allows dust collection right at the point of cutting. Now you'll need a vacuum to suck up the dust. Unfortunately most vacuums are very loud. Add that to the fact that the routers are really loud and it's especially uncomfortable for your ears. I've had a shop vac in the past. They work well but are over 80 decibels. While researching other vacuum alternatives, I found Fein. They are German made, have the quality of Festool vacuums and are much cheaper. The best part is that its less than 50 decibels while running. It's one of the quietest vacs on the market and is still going strong 3 years later!
11: PPE (Safety Equipment)
12: Touch probe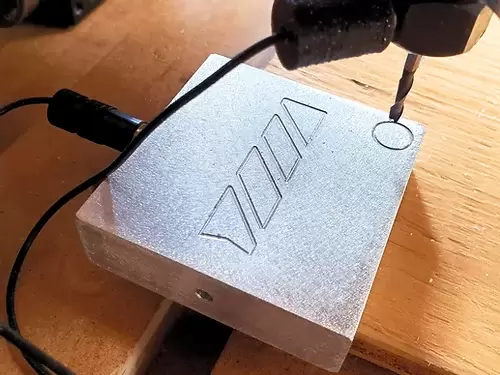
The basic principle of this type of probe is that the continuity of an electric circuit is broken when the probe touches a feature in the XY plane at a given Z position or touches a surface in the Z direction at a given X & Y. This lets the machine know where the starting point to cut on the material is. While a touch probe is not a necessity, it makes finding zeros more automated. Most any touch probe will work with the Onefinity, however they sell their own branded probe that is plug and play.
13: Material
Finally, you'll need something to cut. The materials you can cut on a CNC would be wood, acrylic, plastic, chipboard, aluminum, brass, linoleum, brick, hdpe, pvc, and many more.
Summary.
Hopefully this post was helpful in what to expect when you purchase a new CNC. If you have any questions, feel free to write them in the comments. If you can think of anything to add, send me a message and I'll edit this post.
Happy cutting! Ben
11 Comments

|

Categories
All
“As an Amazon Associate I earn from qualifying purchases.”
Archives
November 2023
|


 RSS Feed