|
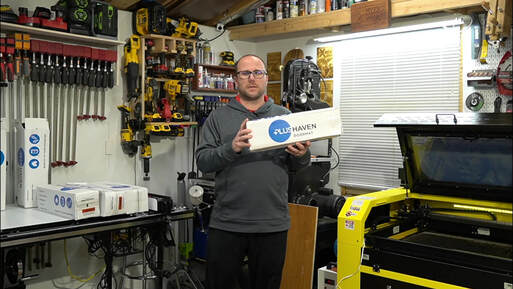
Ever wanted a fancy custom door mat on your own front door or for a gift?! We'll, it's easy with a co2 laser! Just a few minutes of programming and one mat and you have a priceless gift that you cannot buy! It's easy, unique and fast to make! Also, I've placed free, helpful files at the end of this post to get you started! The first thing you'll need is a bank mat. I've used a couple different ones but this PLUS Haven Pure Coco Coir Doormat seems to be the one everyone likes and it gives the best results! They run about $19 on amazon and the ship in a nice compact box you can use to ship right back to the customer! Click the read more for the rest of this tutorial and free files!
6 Comments
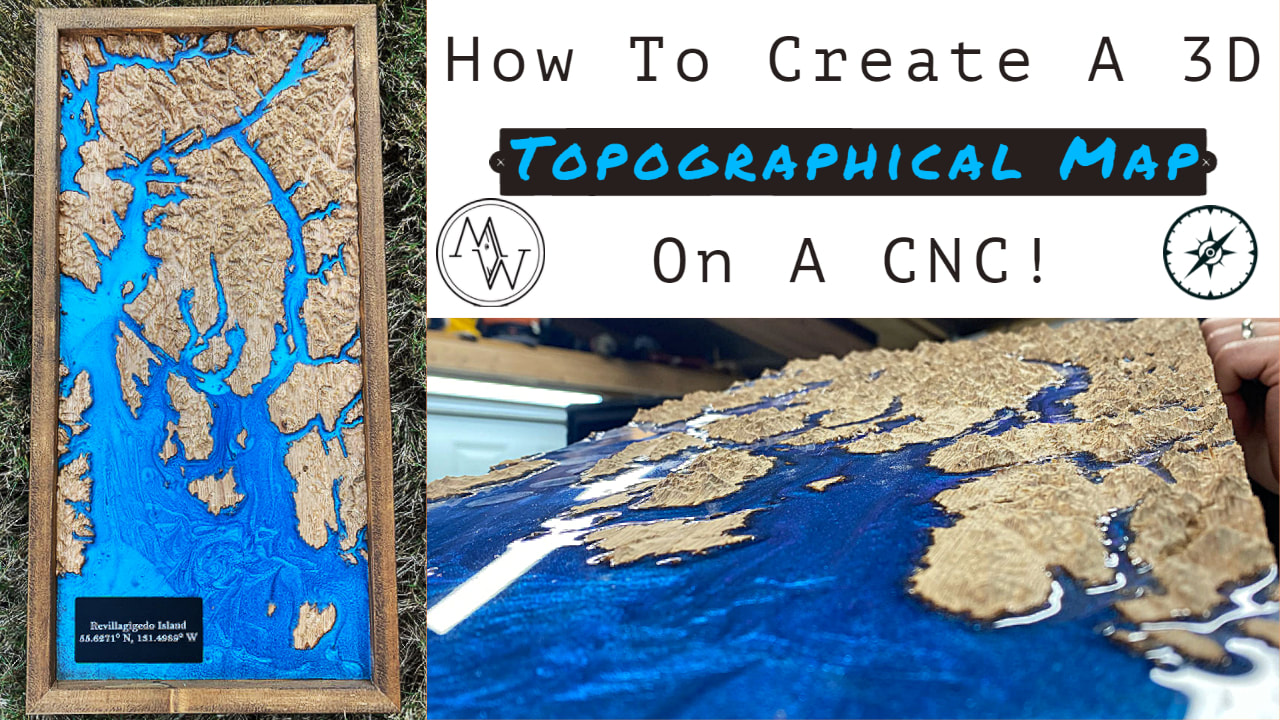
Ever wanted to make a topographical map out of wood? I made one, and I created a video that walks you through exactly how to do it step by step. The first step is to pick a place you want to make a map of. Obviously, some places are better than others. If you're doing Arkansas, where I live, your map is going to be pretty flat. If you choose somewhere with huge mountains like we did of Ketchikan, Alaska, you'll get some dramatic height differences! Once you choose a good spot, you'll need to make an .stl file of the map. What's great is that Rowdy Roman created a video on just how to do it. Once created, you can make it on a cnc or even 3d printer! Take a look at that video below. Then, we'll take that .stl and move on to Vectric Aspire in my video. Now that we have our .stl, we move on to open Vectric Aspire. We can use other CAD programs to do this if they have the ability to use .stls or 3d models, but I use and know Vectric, so that's what I'll be showing in my video. Just import the .stl in the model tab, change it to the size of your material. Make sure to drop the slider to include the very bottom of the model, and change over to the 3d roughing toolpath. I used a bigger flat endmill to hog out most of the material. Then I change to a finishing toolpath with a very fine tip to capture all the detail. I go into really deep detail in the video linked below of the whole process. Once done, we mixed some resin epoxy with some blue pigment to fill in the depths where the water would be on the map. This gives it an amazing 3d effect and really pops in contrast from the land mass. We gave it a light coat of poly, did a simple stained frame and it was done! It's a lot easier than you may think! If you want to see examples of the .stl and the Vectric Aspire files, I've linked them below: If you make one, drop a comment with links to it so we can check it out! Happy creating!
We're back after a few months hiatus! Coty, Brian, and Ben sit down and catch up on what's been going on since the last episode and you won't believe the change Coty's had.
Brians Etsy shop: https://www.etsy.com/shop/FierySquirrelArt Get a fiery squirrel art t-shirt! : https://teespring.com/stores/fierysquirrelart Coty's new realty Instagram @sellingarkansas www.homesforheroes.com/affiliate/coty-skinner |
Categories
All
“As an Amazon Associate I earn from qualifying purchases.”
Archives
November 2023
|





 RSS Feed