|
1 Comment
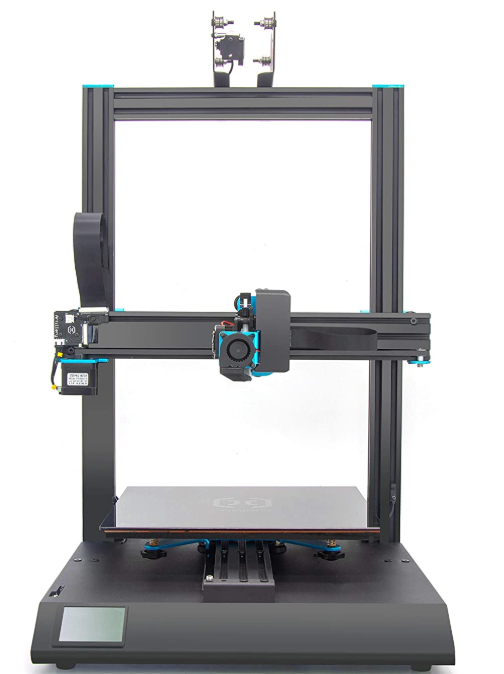
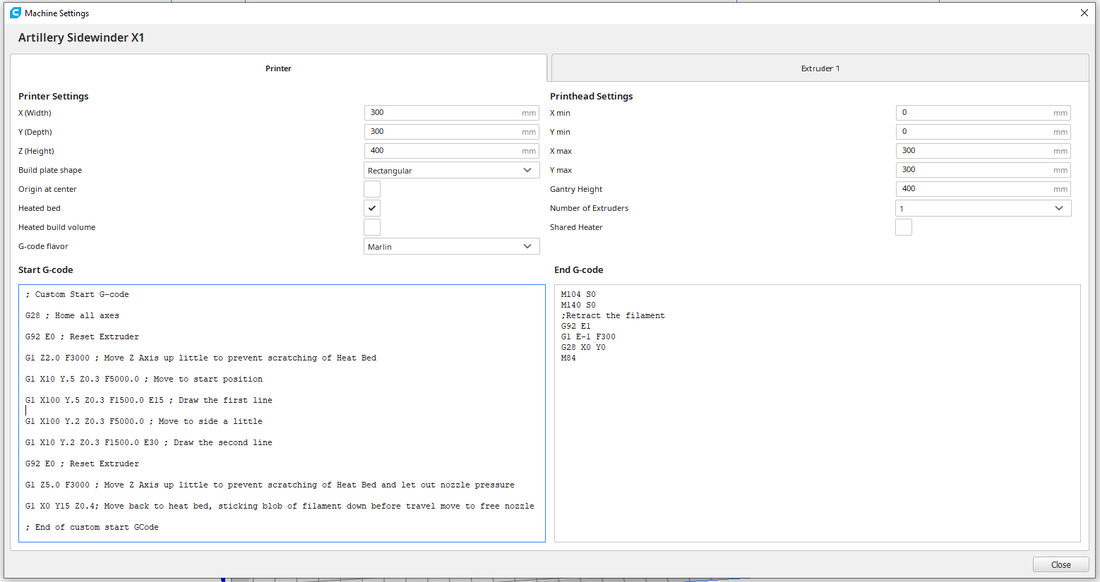
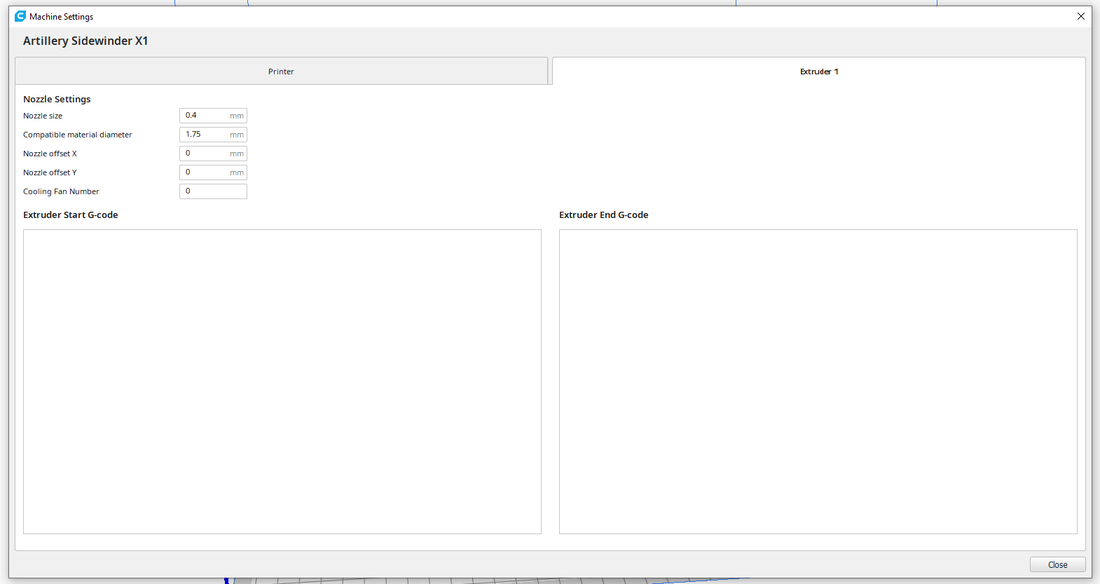
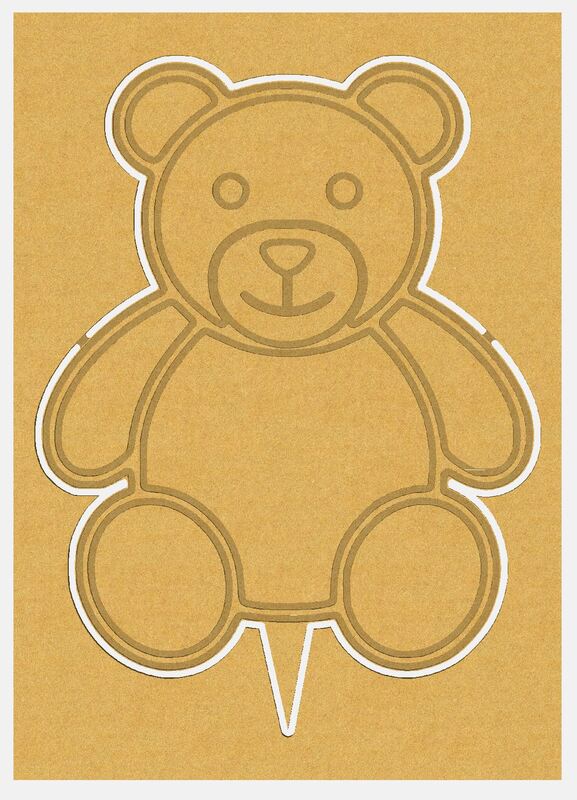
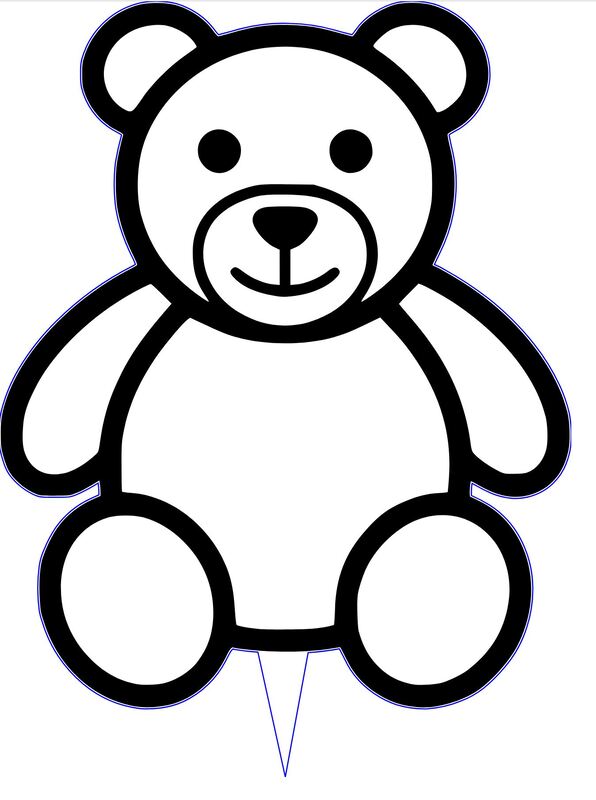
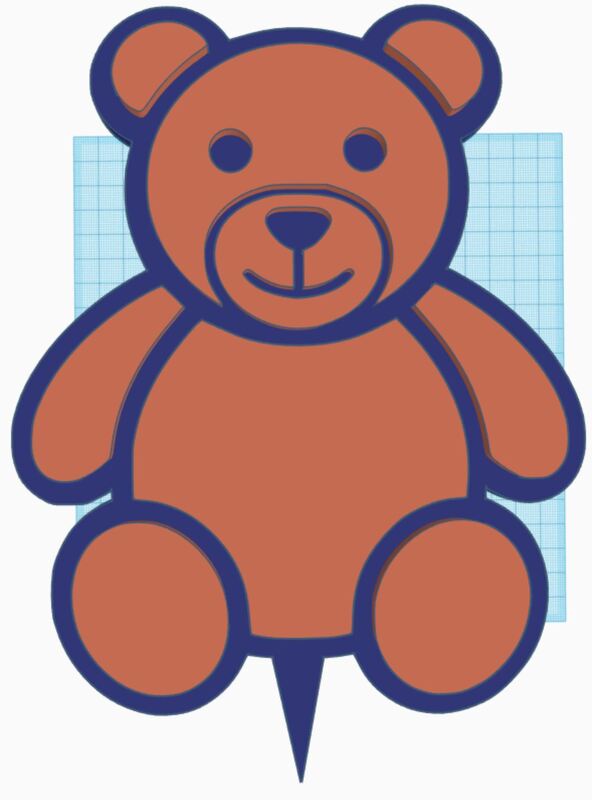
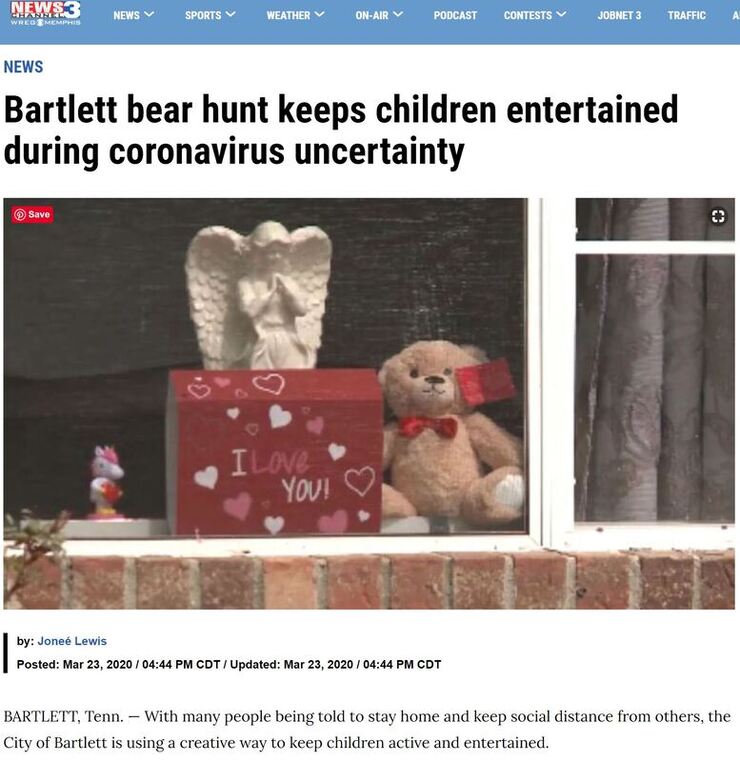
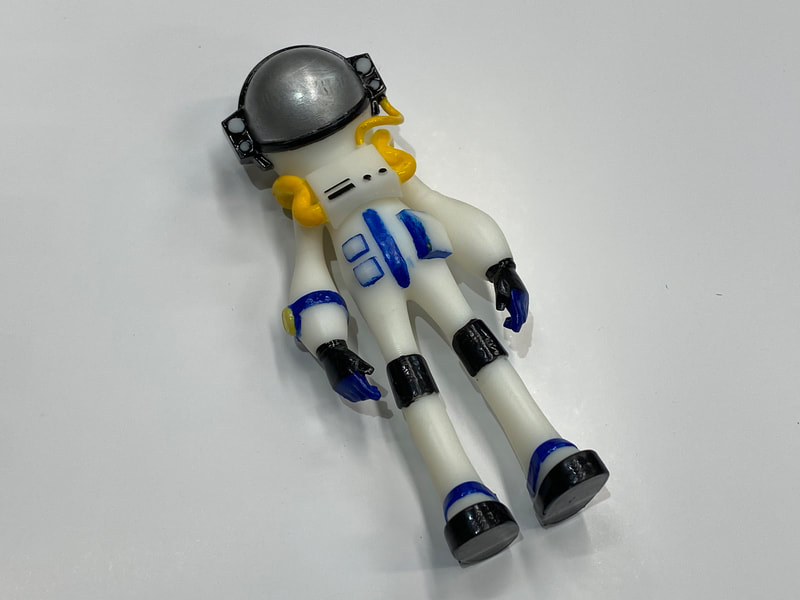
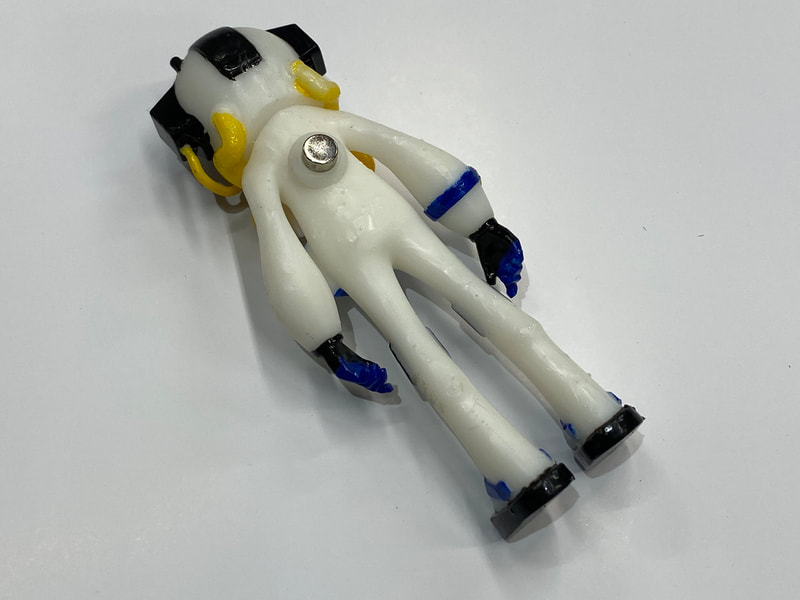
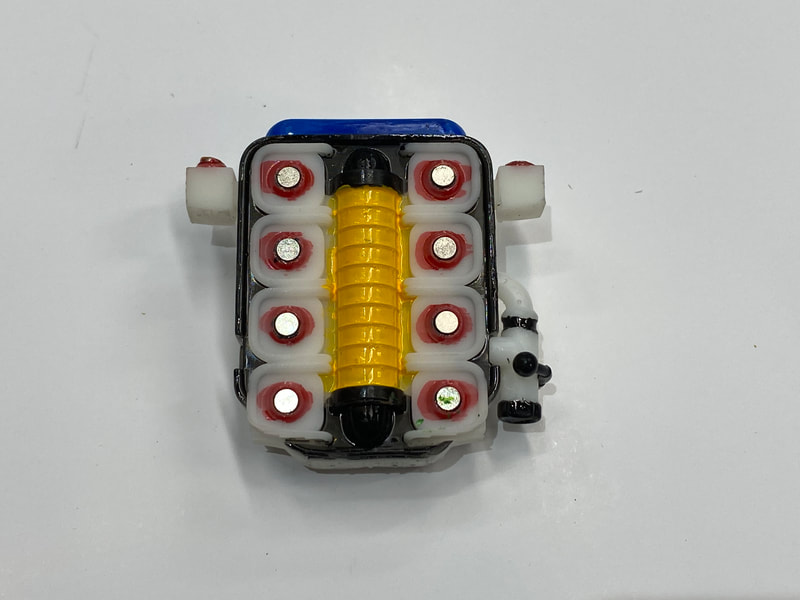
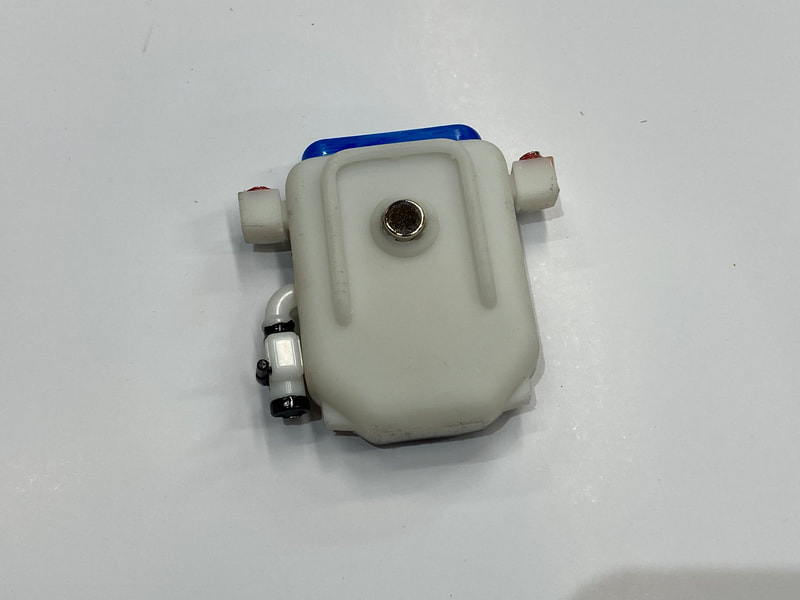
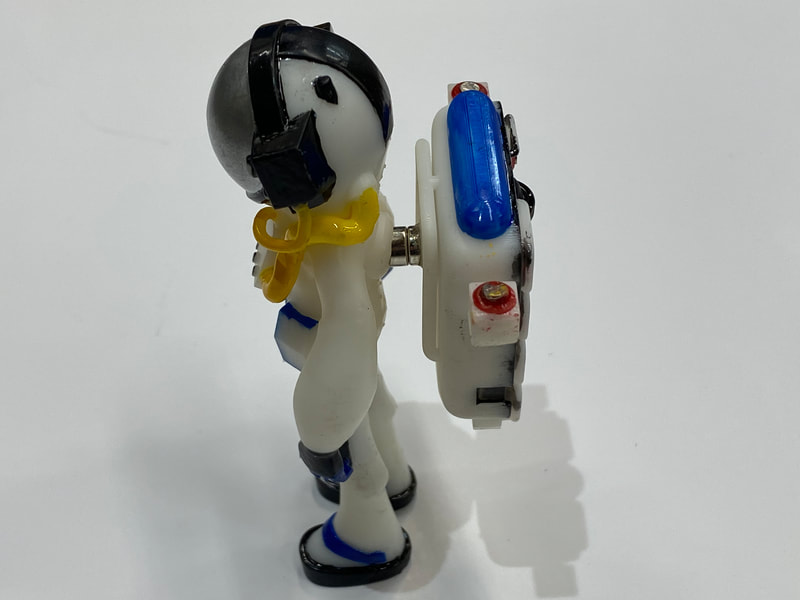
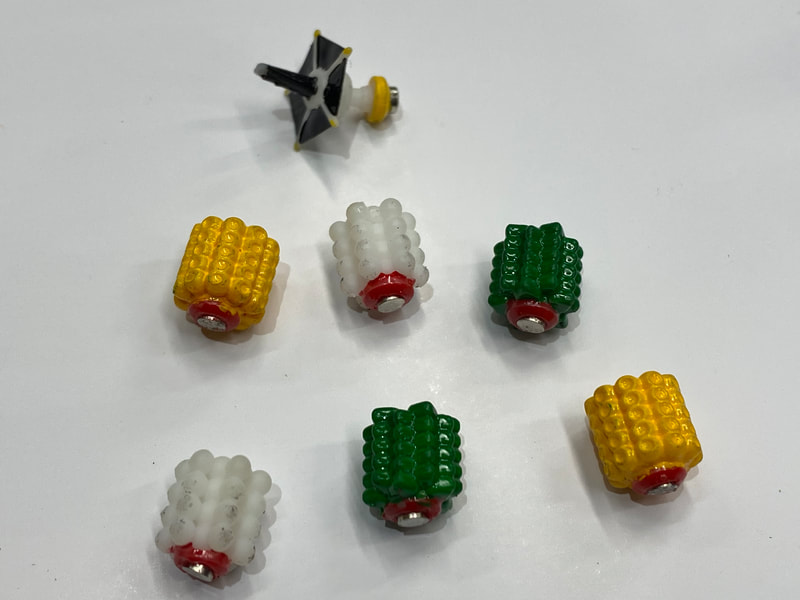
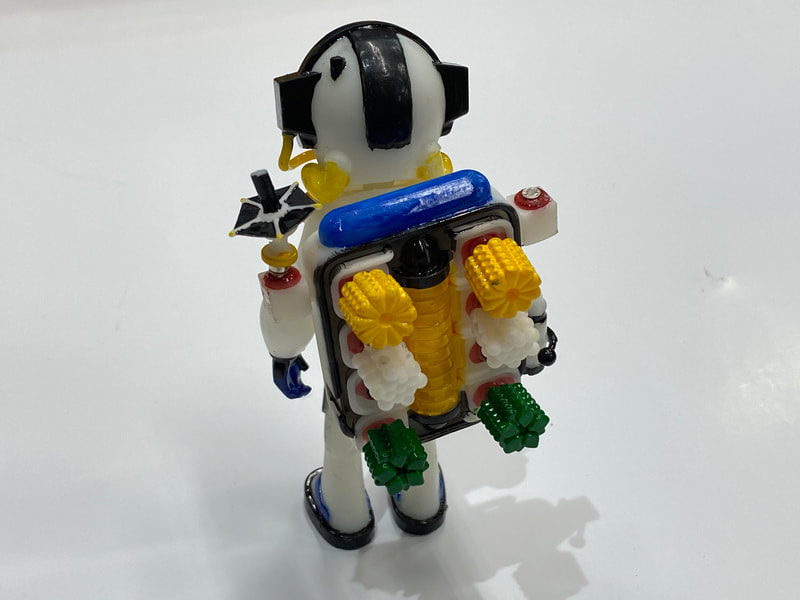
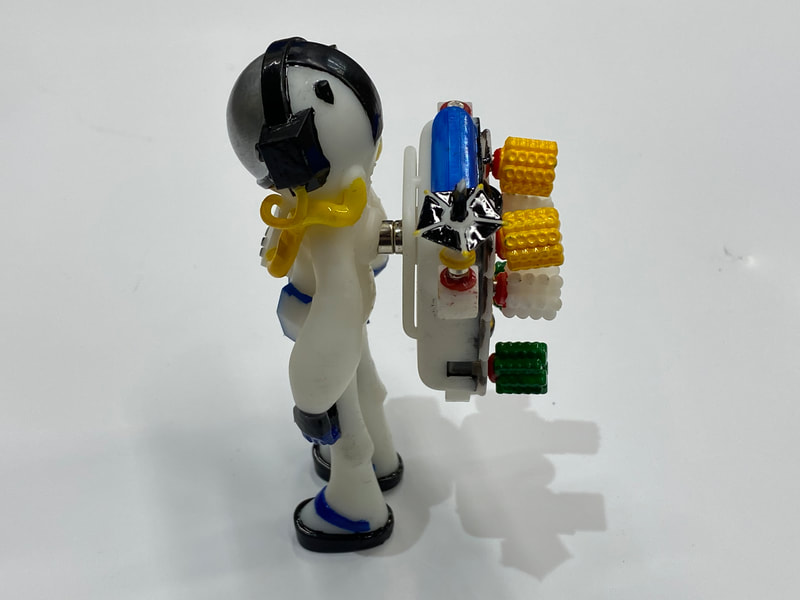
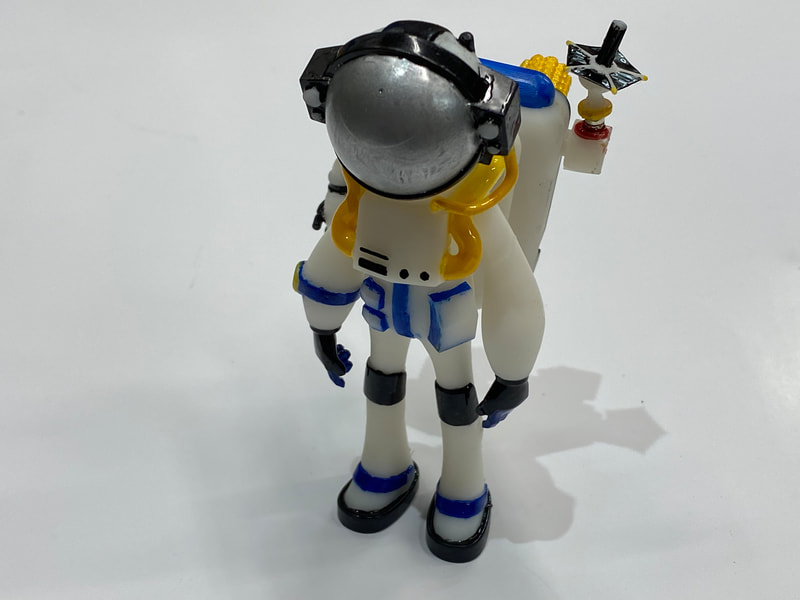
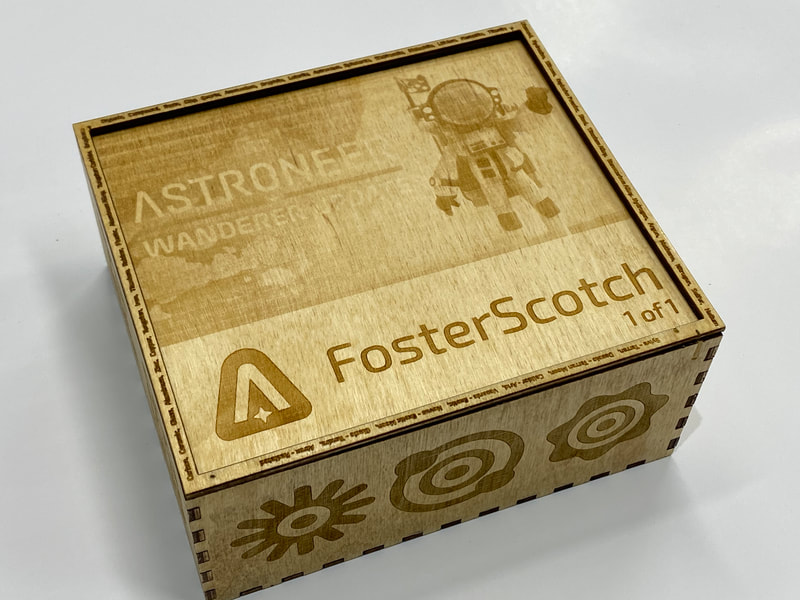
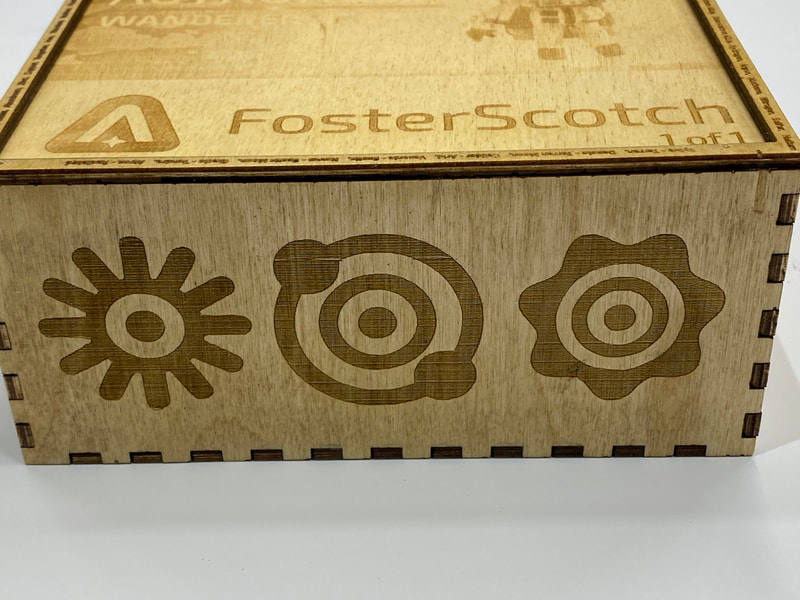
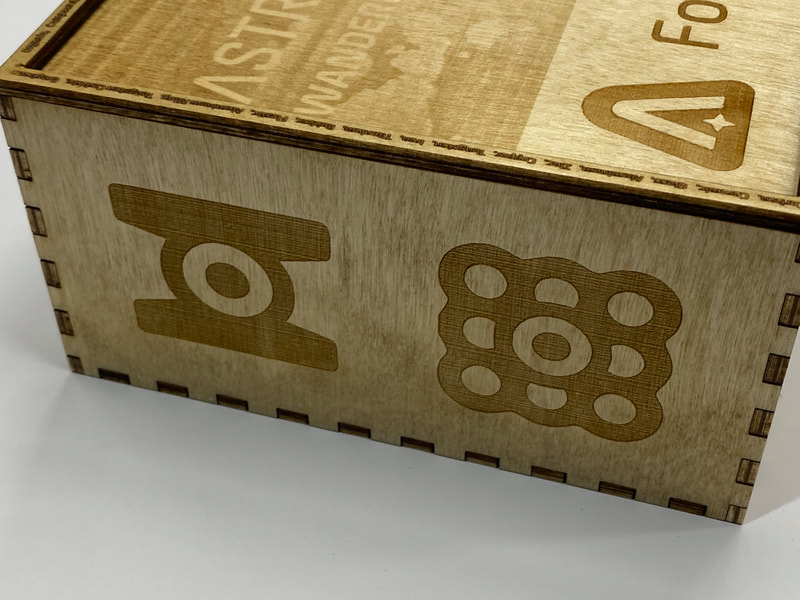
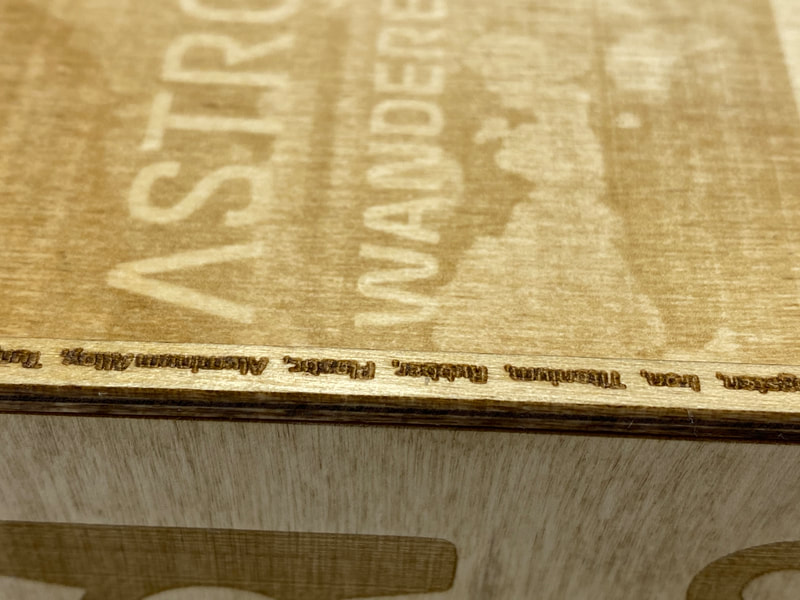
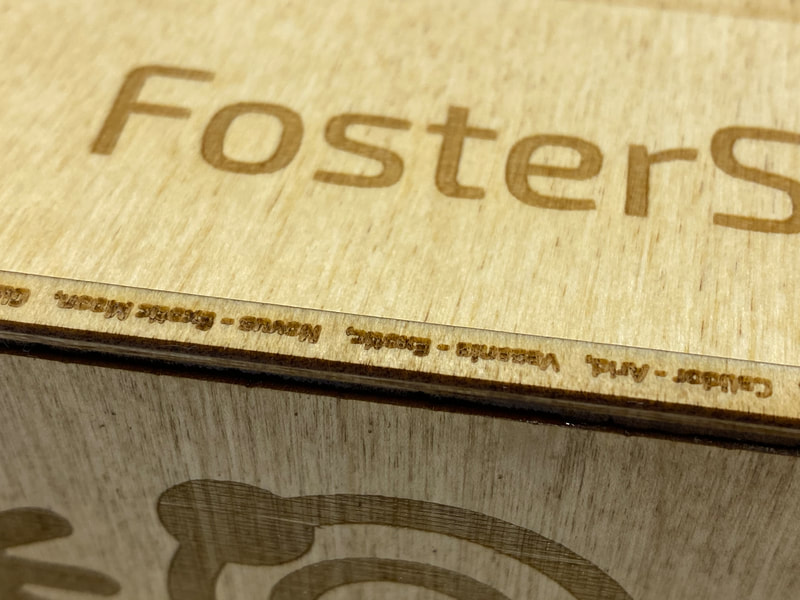
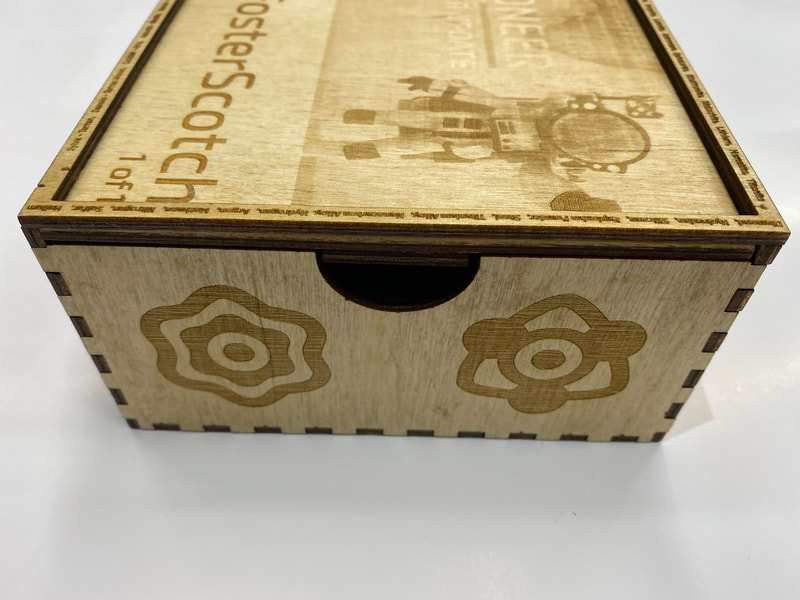
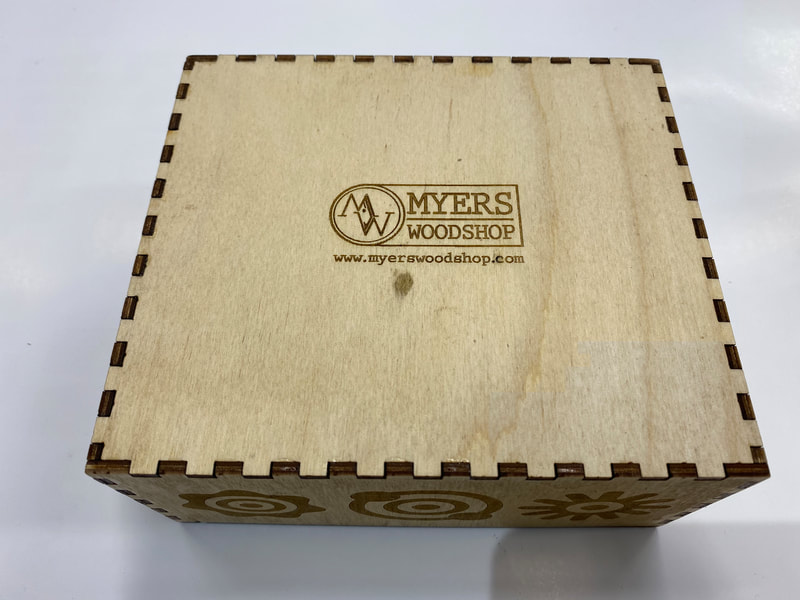
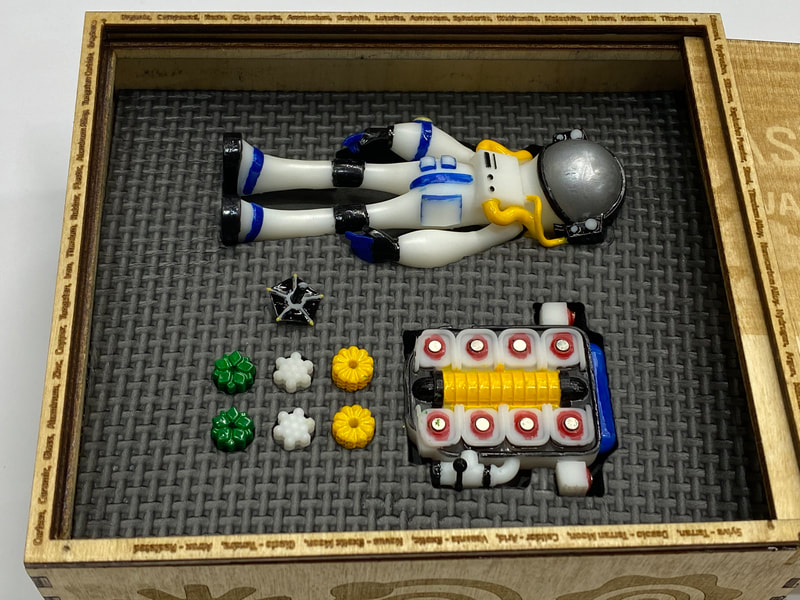
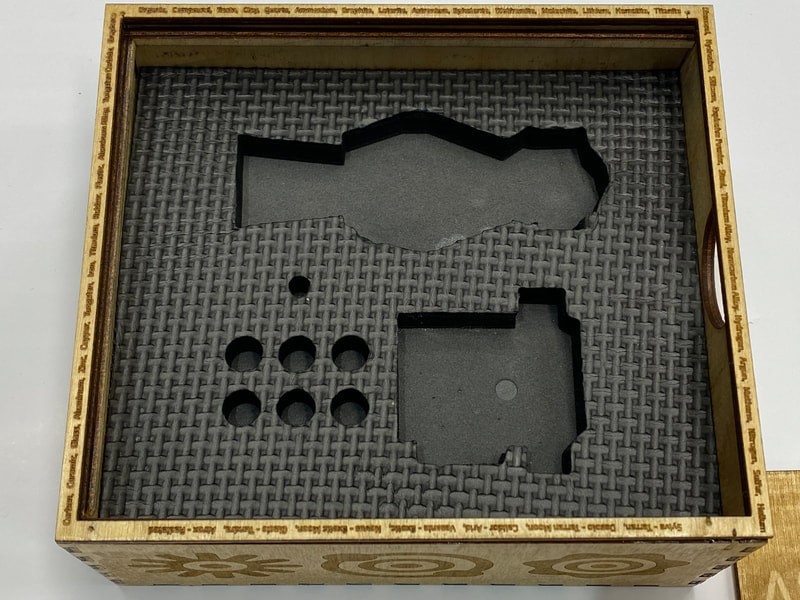
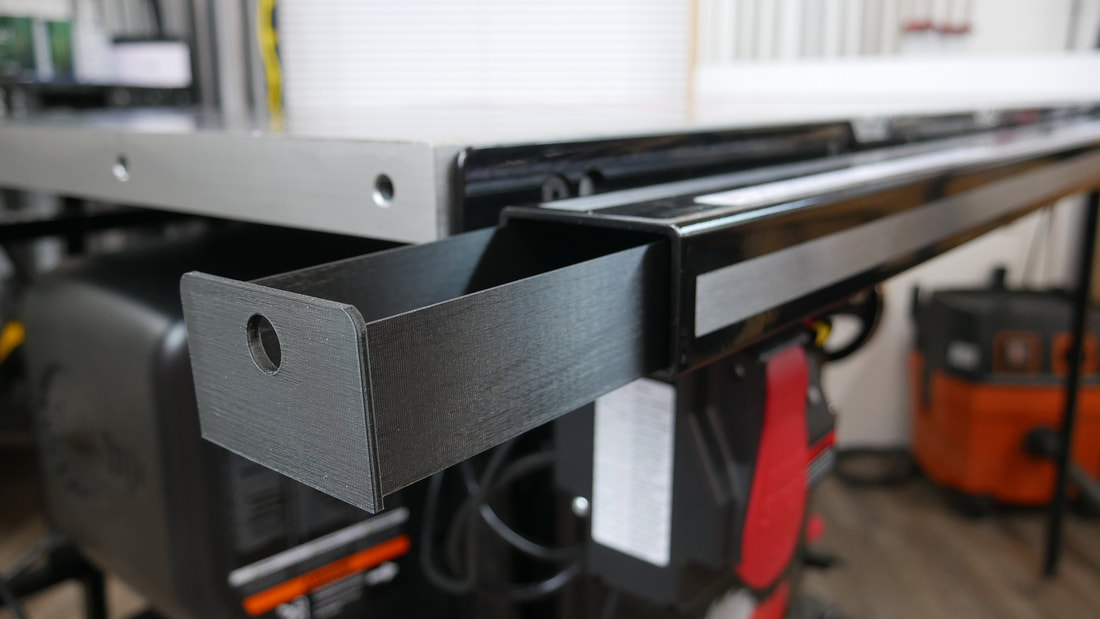
Add this to the start gcode under machine settings for the Artillery Sidewinder X1 in Cura slicer: ; Custom Start G-code G28 ; Home all axes G92 E0 ; Reset Extruder G1 Z2.0 F3000 ; Move Z Axis up little to prevent scratching of Heat Bed G1 X10 Y.5 Z0.3 F5000.0 ; Move to start position G1 X100 Y.5 Z0.3 F1500.0 E15 ; Draw the first line G1 X100 Y.2 Z0.3 F5000.0 ; Move to side a little G1 X10 Y.2 Z0.3 F1500.0 E30 ; Draw the second line G92 E0 ; Reset Extruder G1 Z5.0 F3000 ; Move Z Axis up little to prevent scratching of Heat Bed and let out nozzle pressure G1 X0 Y15 Z0.4; Move back to heat bed, sticking blob of filament down before travel move to free nozzle ; End of custom start GCode With all the crazyiness going on in the world during the corona virus, covid-19, I love the fact that people are hiding bears around their homes for children to 'hunt' for during walks and bike rides. I designed a very simple file that can be used on a cnc, laser cutter, 3d printer, vinyl cutter or just a regular everyday home printer that you can print out on paper for kids to color. Please feel free to use these files as you'd like. Please tag me, email me, or leave a comment on the socials so I can see what you do with the, @myerswoodshop. We're in this together! Let's bring a smile to the faces of children. -Ben *This is a ZIP file. You will need to 'unzip' the file to access the files* I LOVE the video game Astroneer. Ever since i found this little obscure game on Game Preview via XBOX in prealpha state I've been a fan. I'm not even sure how I found it, but I'm glad I did. With each update I dive back in always in wonder by what new things there is to do. A game where I'm not shooting someone?! How can it be?! I'm also fortunate to have a good friend who likes it as much as I do. The unfortunate thing is that he live 3500 miles from me in Alaska. We met at college while playing lacrosse. This game is what keeps us close 8 years later. XBOX chat is our version of talking on the phone. I designed the box from scratch. Then used my 60w laser to cut it out. I then bought some foam from hobby lobby and tried cutting it out on the laser cutter. I went to slow and caught it on fire! I tried some floor tile mats from harbor freight. These worked great. Only problem I ran into with them is that they aren't as thick. I ended up doing 3 layers on the bottom and one layer on the top with the cut outs of the figurine. The words around the lid are the planets and type, the gases, and the elements in the game. They are only 2mm in height so they are very tiny. I decided to do some of the larger element symbols around the outside of the box. FosterScotch is my friends gamertag. I liked the wanderers update picture because of the artwork and the good contrast in it. That makes for a pretty decent lasering using jarvis etching on the laser. I used the model that Spencer created. It's great Spencer! Now, can you model the other suits?! (Here's a link to his file) I printed it out .1 on the Prusa SLA resin 3D printer, the SL1. It came out great! This was my first time painting anything printed. I got some Testors model paint and their cheap paint brushes. I learned the hard way that vigorously mixing the paint is a must. If you look at the red and the blue you can see they kind of bleed. It was pretty watery consistency. Then I realized I needed to shake the fire out of the bottles before painting. The other colors turned out much better. I still hate painting. The magnets are the coolest part of this figure. It's just like how it all snaps together in the game. They are REALLY tiny, but oh so satisfying. At the bottom of this post I attached a video of the box closed and opening the box, taking out the Astro man and assembling them together. I think it turned out really cool! Hopefully it makes it to Alaska in one piece! Let me know what you think in the comments! Happy Making! Ben I Created A Saw Stop Table Saw Utility Drawer. The Best Add On For Your Saw! Purchase One Below!7/7/2019 ow that you have the best table saw on the market, the Sawstop PCS or Industrial, why not make it even better? This utility drawer fits into the rail slot on the left side and is a perfect place to hold your pencils, pens, marking tools, hex key, safety key, safety glasses, and anything else you might need when using the saw. It's a perfect fit and does not alter the saw in any way. Just remove the left rubber insert and slide in the drawer. That's it! This is the most practical item you can buy for your Sawstop table saw! I generally print in black (95%) for this item but if I'm out it may be in another color at my digression. If you'd like a custom color, that may be possible for an extra charge. Send me a message if it matters to you. Inside drawer dimensions are 2 1/2" wide x 7 7/8" long x 1 1/2" tall. *This ONLY FITS the T-Glide Fence NOT the premium fence.* This item is printed to order and takes around 6 hours to print, so if there is a great demand for it, please allow me some time to clear out the queue. *Safety jargon to cover myself. Make sure to wear all the proper personal protective equipment when using your saw and this item. This item could potentially alter the saw in some way so use it at your own digression. I am not liable for your safety while using this item.*
After using the Creality Ender 3, I love this printer the more time I spent with it. The experience did include a few speed bumps along the way, but none of the issues we had were insurmountable. All in all, the Creality Ender 3 is an extraordinary 3D printer when you take the ~$200 price tag into consideration.
There are a number of features that make the Creality Ender 3 one of the most popular machines currently on the market. It has a build volume of 220 x 220 x 250mm, a BuildTak-like heated build plate, power recovery mode and a tight filament pathway that makes it easier to print with flexible materials. These are attributes that are difficult to find in even more expensive printers… As for printing performance, the Creality Ender 3 exceeded our initial expectations. We experimented with PLA, PETG, ABS, flexible and exotic filaments, and while there were some adhesion and warping issues with ABS, along with some wood filament difficulties, we managed to print successfully with all of the materials at the end of the day. The 3D printer is easy to assemble and–although it requires manual calibration–the enlarged bed leveling knobs make the process convenient. Once calibration is perfected (it might take a few attempts), the Creality Ender 3 ultimately became indistinguishable from printers that are closer to the $1000 range. The most glaring issue presented by the Creality Ender 3 is the uneven base, which causes a slight wobble to the entire 3D printer. I was able to solve this by placing a wedge under one corner, but still, this initial problem was definitely a cause for concern as stability is a critical part to a quality 3D printer. Otherwise, I didn’t have many other qualms with the Creality Ender 3. There were some bed adhesion issues with certain materials, such as ABS, but adding some adhesive solution to the build plate solved this rather quickly, or switch to a glass bed. The Creality Ender 3 is an excellent option for beginners or makers on a budget. While this 3D printer does have its flaws, the affordability makes it a worthwhile investment. Unlike other budget options in this price range, like the Anet A8, the Creality Ender 3 is prepared for high-quality 3D printing right out of the box. On top of that, the growing community surrounding this 3D printer has led to more and more upgrades. Creality also offers an “Ender 3 Pro”, which has a detachable magnetic heated bed and improvements to the Y-axis to achieve a better print quality. This makes the Ender 3 Pro more expensive. There are certainly better 3D printers available on the market, but none seem to fuse quality and affordable quite like the Creality Ender 3. It might require a bit of tweaking and patience to achieve the ideal print quality, but the high potential that this budget 3D printer offers makes well worth the battle. Need an easy way to store you unused Dewalt 20v/flexvolt batteries? This 3d printed bracket is a simple, easy, and fast way to add storage to any surface using two screws. These work perfectly for any size Dewalt 20v or Flexvolt battery.
When I have a long carve on my CNC (Onefinity, Shapeoko, Xcarve or other brand) or 3D Printer, I like to remotely monitor it to make sure everything is going smoothly. I'd like to say, " NEVER LET YOUR CNC RUN WITHOUT YOU THERE!", but lets be real. We've all done it.
What i do is have this camera set up so I can periodically check in and make sure everything is cutting fine. In the event of a catastrophic error, I pair the camera with a wifi outlet. I have my CNC and Router plugged in to the wifi outlet and can shut if off anywhere I have internet or cell reception. Click the two links on the right to buy the same products I use. It's a small price to pay for piece of mind.
|
Categories
All
“As an Amazon Associate I earn from qualifying purchases.”
Archives
November 2023
|



 RSS Feed