|
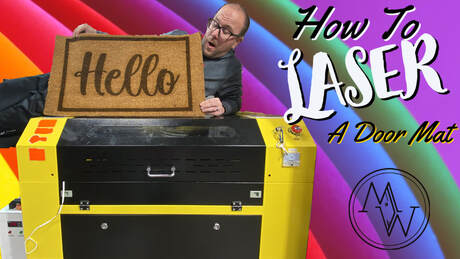
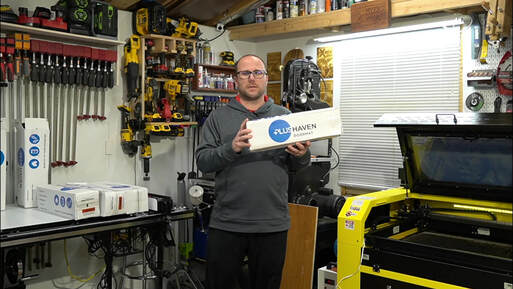
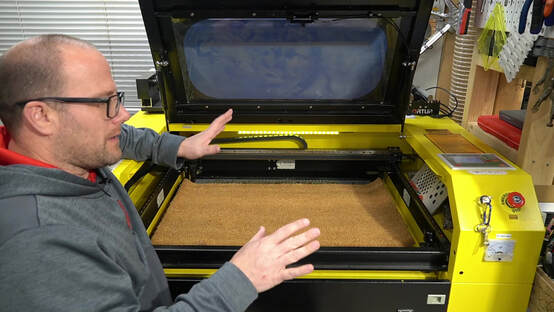
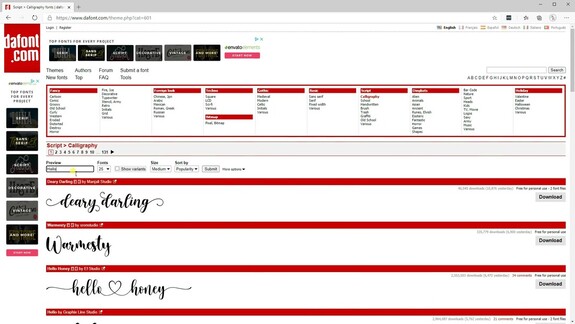
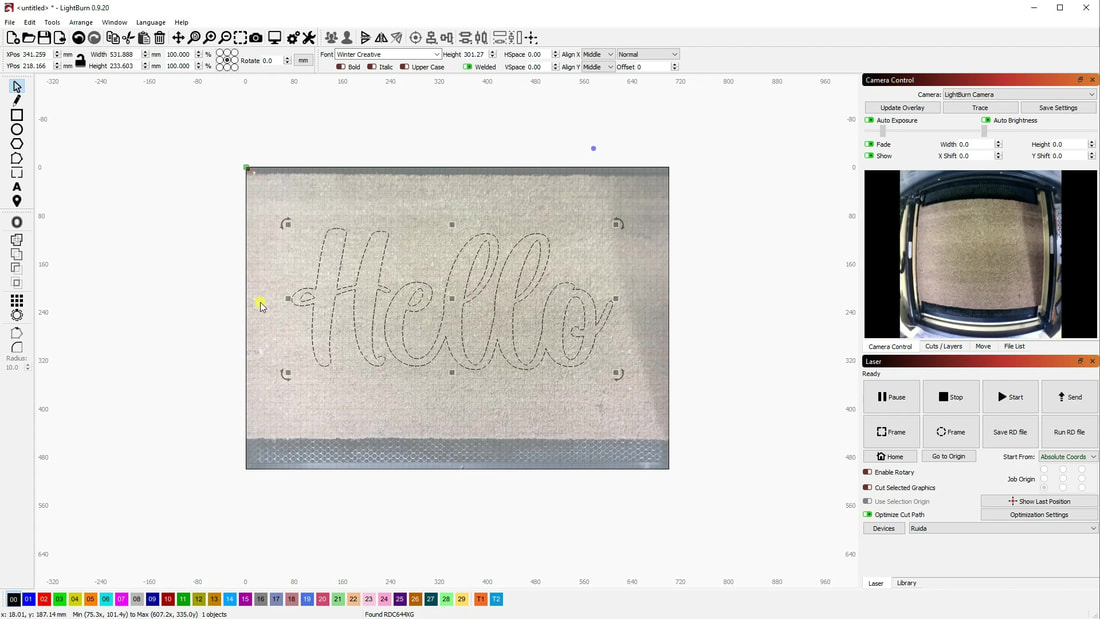
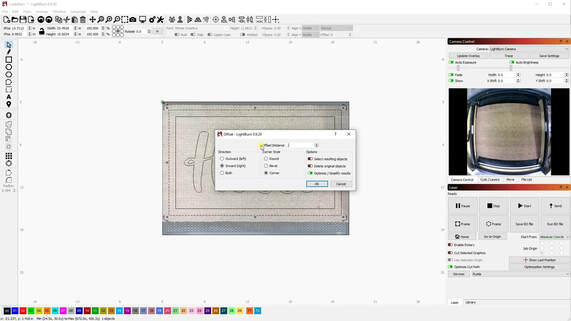
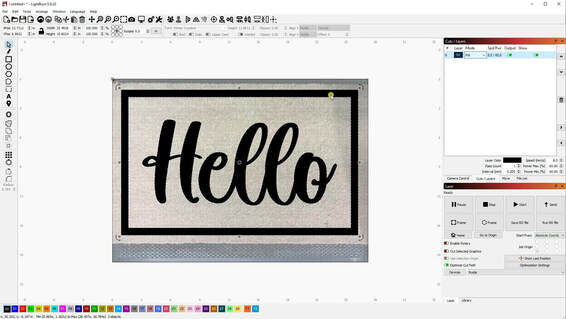
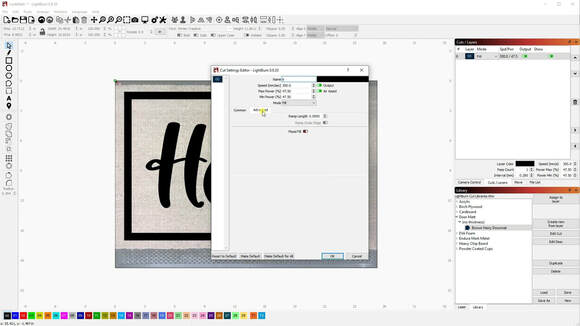
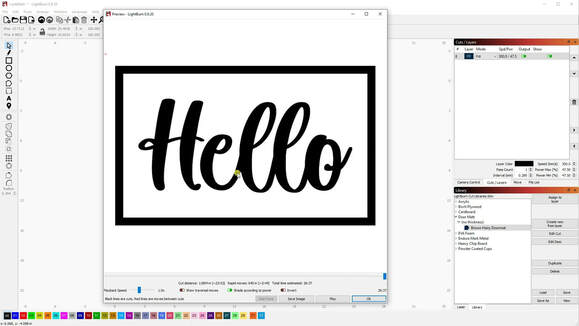
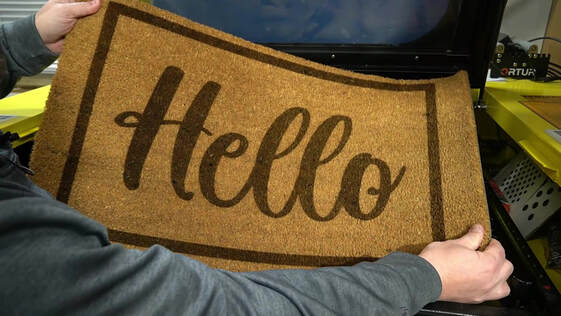
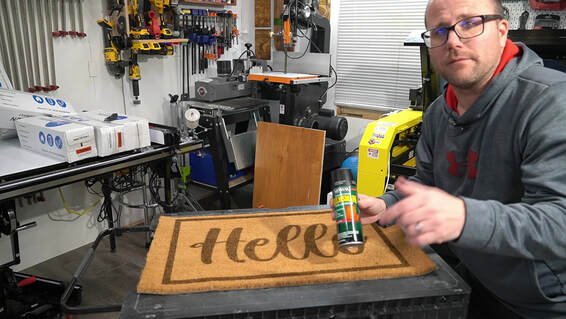
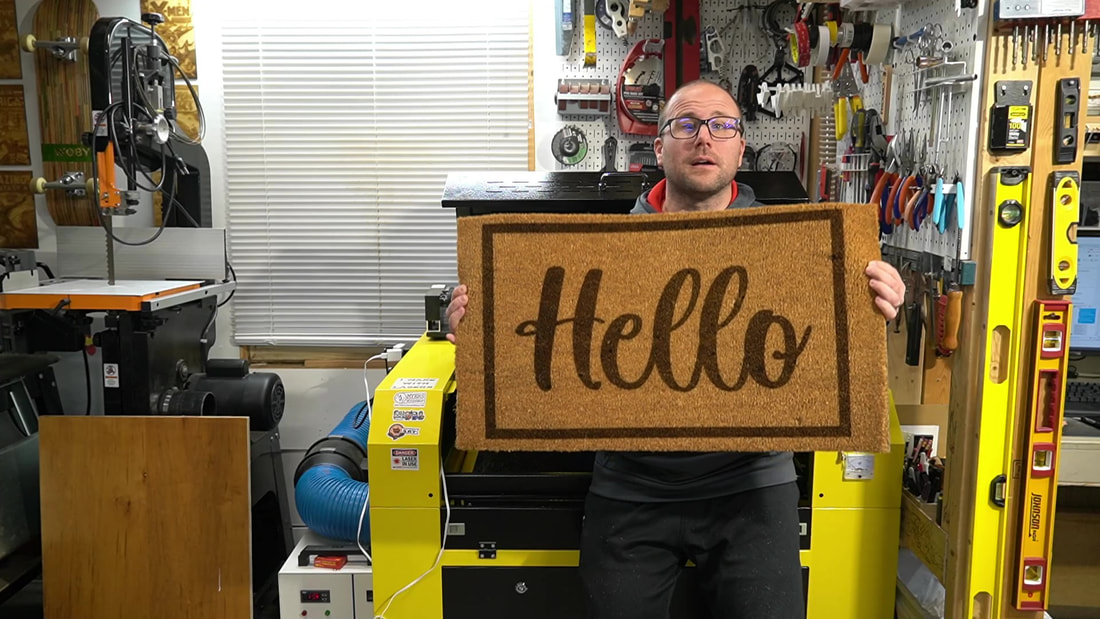
Ever wanted a fancy custom door mat on your own front door or for a gift?! We'll, it's easy with a co2 laser! Just a few minutes of programming and one mat and you have a priceless gift that you cannot buy! It's easy, unique and fast to make! Also, I've placed free, helpful files at the end of this post to get you started! The first thing you'll need is a bank mat. I've used a couple different ones but this PLUS Haven Pure Coco Coir Doormat seems to be the one everyone likes and it gives the best results! They run about $19 on amazon and the ship in a nice compact box you can use to ship right back to the customer! Click the read more for the rest of this tutorial and free files! Make sure to roll out the matt and then roll it backwards so it lays down flat. A little curl at the end is ok, but the flatter you can make the mat on the laser bed, the better your design will come out. If it's curled, it will come out distorted. My bed is 28x20, this mat overhangs it by about an inch, but that's perfect as we usually want 2 -3 inches of nothing space around our design. I just center the mat to the bed and make sure it's level. It's time to pick a font! I almost always hit up dafont.com first. Generally, I got to the script type and then you use the preview to put in what you're wanting the words to say. It will then change the preview to those words and you can scroll through to see which one you'd like. I used winter creative for the video example of 'hello'. Once picked, just download the font and install it. You will need to restart Lghtburn for it to recognize the new font. This is where the camera really comes in handy. Get the appropriate lightburn camera for you laser. The video I've done above will show you how to pick it and set it up with your laser. It's easy and works with 99.9% of all laser engravers. If you own a laser, you should own the camera too. You'll also need a camera mount as the camera comes without one. I sell that in my etsy shop: Once ready, you can click 'camera overlay' and you'll actually see how the mat is laid out over the bed. This will help position your design EXACTLY where you want it! It couldn't be simpler. After I centered the words, I wanted to create a boarder around the mat. To do this, I made a simple square around the size i wanted the outside boarder to be. I then clicked the offset tool and did an inner boarder by .75. This gave me a perfect sized rectangle around my words. Now that the design is done, It was time to choose how I wanted the laser to engrave it. Under the Cuts tab, I switched from line (which would just do an outline of the desing) to fill, which fills in the design with solid lines to give a bold look. I then edited the cut selection with the settings from my library (download link below). This pulls in the exact power, speed, and resolution for my 60w laser. I choose flood fill as the selection as this will engrave the design the fastest possible without a bunch of movements that aren't cutting. By doing this, I went from 1 hour of cutting to around 18 minutes. WIt's always a good idea to click the preview button to make sure the engrave is going to come out like you expect it to. Click the little computer screen in the top bar and it will show you a preview. If you drag the slider along the bottom, you can watch how the laser will move. We're now ready to cut! Click start and take a break! We're done 18 minutes later! A beautiful design on a mat! That was simple, right?! There's one last step we need to take to ensure this mat lasts a long time. I use spar urethane to seal the burn parts on the mat. Spar urethane helps stop the uv light, weather, and temperature from breaking things down, especially outdoors. Apply liberally and wait an hour or so for it to dry. I only spray it on the burned image, not on the whole mat. We did it! You should now have a pretty, unique mat that's great as a gift or an item to sell! Check out the links below to help you get started making your own. Also, I created a step by step YouTube video. You can check that out below also! If you make a mat, share it on social media and tag me so I can help it! If you're looking at getting a laser, this is mine (but just a different color). It's from OMTECH Laser. It's feature packed for the cost. I've been really happy with it and it has paid for itself over 40x's over in the short amount of time I've had it. It's absolutely the machine that makes me the most money in my shop! If your considering it, click the link below and use code 'myerswoodshop' for 5% off your order! Click the following buttons to download the files:
6 Comments
bruno azzopardi
1/1/2021 05:20:42 am
bonjour bravo pour votre idée et video je ne parle pas l anglais mais bon j ai un peu compris par compte quelle puissance faut il pour le laser, la machine que vous montrer est t elle bien et le sav serieux car c est une machine chinoise et cela peu etre difficile pour le service après vente et piece détaché merci pour votre reponse
Reply
Timothy Scarbrough
4/4/2021 01:54:27 pm
I have the same 60 watt Omtech laser. When engraving the doormats do you raise your laser any higher than you normally do when engraving?
Reply
Jennifer Hughey
8/3/2021 04:31:57 pm
Can't wait to try this. I also wanted to download your LB library files but the button errors out..
Reply
Hamada
1/14/2022 12:19:26 pm
Hi bro.. I'm trying to download lb library files but I doesn't download..
Reply
Having door mats at the entrance to your home or office can be very beneficial. Best door mats ensure that all the dirt and mud remains outside, and keeps your floor clean.
Reply
10/6/2022 11:02:44 pm
It's interesting to know that you need to have a camera as well when you get a laser engraving machine. I can imagine how the companies in this industry would probably already have the needed tools and equipment. In that case, working with them would be easier and convenient for business owners when they have to get a certain signage or product made.
Reply
Leave a Reply. |
Categories
All
“As an Amazon Associate I earn from qualifying purchases.”
Archives
November 2023
|


 RSS Feed