
Unleashing Your CNC Creativity: The Power of CARVECO Software with Onefinity, Shapeoko, and X-Carve11/15/2023  In the exciting world of CNC machining, hobbyists are constantly seeking ways to elevate their craft. Whether you're a seasoned enthusiast or just starting out with a CNC machine like Onefinity, Shapeoko, or X-Carve, the right software can make all the difference. Enter CARVECO, a versatile and powerful design and carving software that caters to the needs of hobbyists and professionals alike. In this blog post, we'll delve into why CARVECO is an excellent choice for users of hobby CNC machines, exploring its pros and cons and shedding light on the investment required. Pros of Using CARVECO with Hobby CNC Machines:
Use code
|
|||||||||||||

| draw_1f.zip |
Check out the 'how to install' a Lightburn material library below also!
Etsy Links To Different Material Libraries (click the picture to get them):
TOOLS / MATERIALS
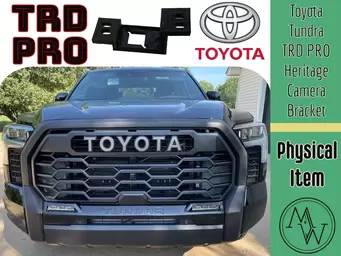
■ Camera Bracket : https://www.etsy.com/listing/1267508521/2022-tundra-bracket-trd-pro-heritage
■ Dewalt Electric Ratchet : https://amzn.to/3SSrXtq
■ 2022 Toyota TRD Pro Grille - Part # 53101-0C220 : https://parts.toyotaofgrandrapids.com/oem-parts/toyota-grille-sub-assembly-rad-531010c220
■ Plastic Car Pullers : https://amzn.to/3pj6c8o
Buy the Camera Bracket here:
How to install video:
 | 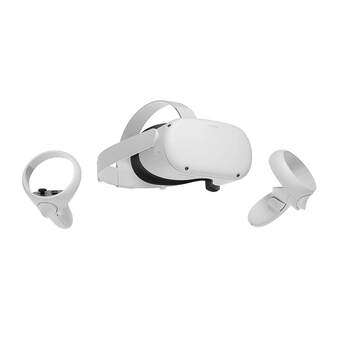 |
Referral Code for FREE GAMES!
https://www.oculus.com/referrals/link/MyersWoodshop/
Perform a factory reset:
1. Turn off your headset.
2. Hold the power and volume (-) button on your headset down simultaneously until the boot screen loads on your headset.
3. Use the volume buttons on your headset to highlight Factory Reset and press the power button.
4. Use the volume buttons on your headset to highlight Yes and press the power button.
Once you've gotten to this step, try using the above referral code again. Once accepted, you can now turn on your Oculus Quest and set it up like normal, this time, with credit for FREE games!
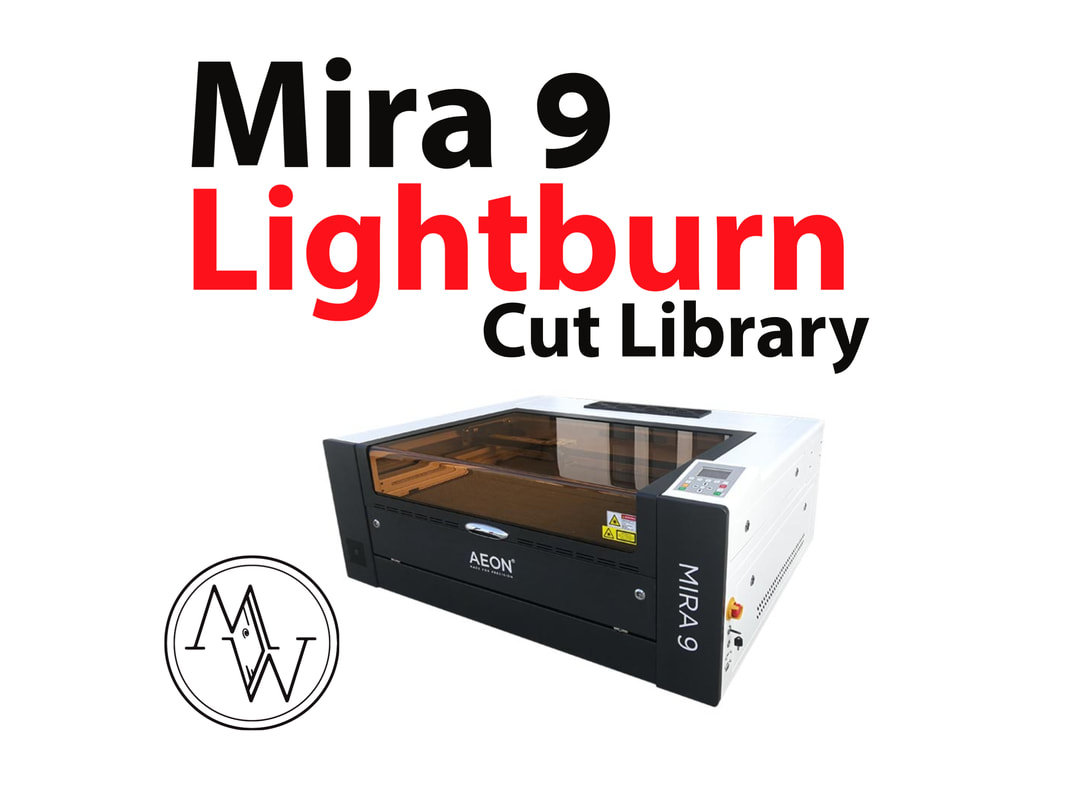
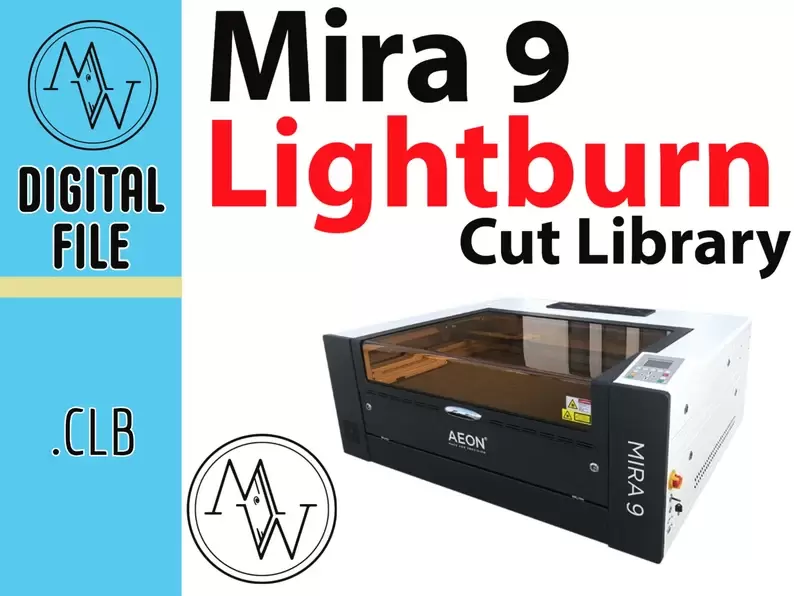
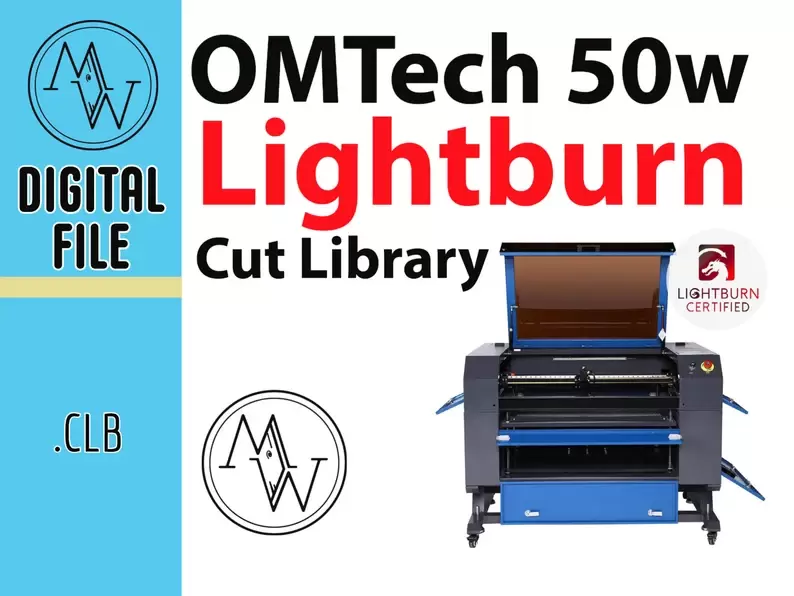
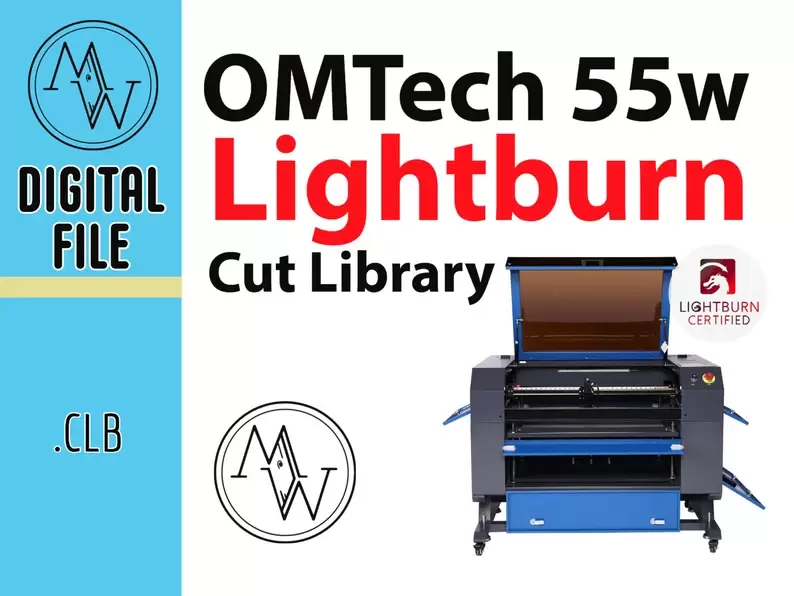
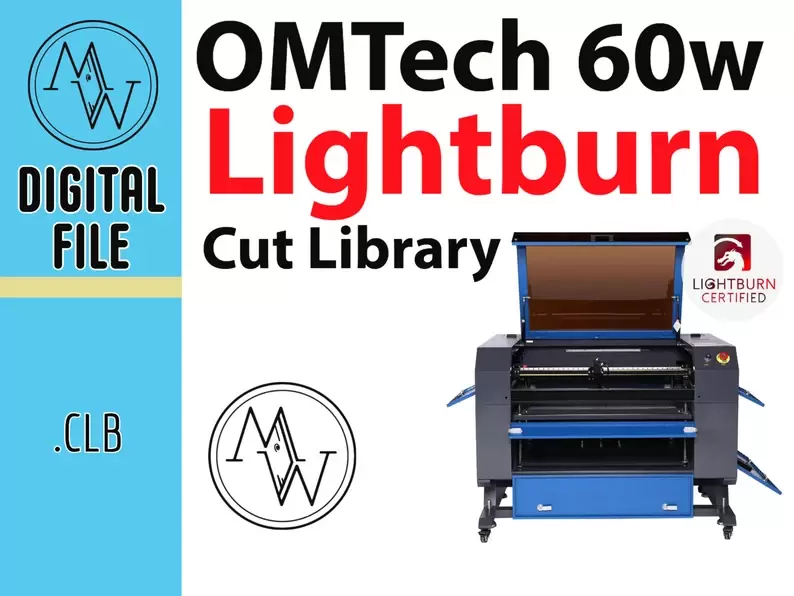
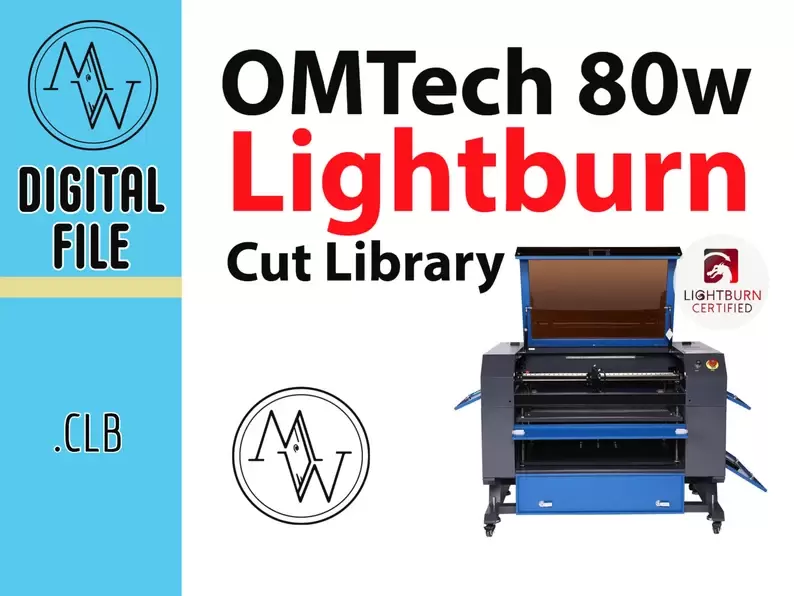
This allows you to take the guess work out of finding the right settings for your Mira 9! No more wondering what speeds and power, dpi, etc. to start with!
Follow me on YouTube: https://www.youtube.com/myerswoodshop for laser video how tos and projects!
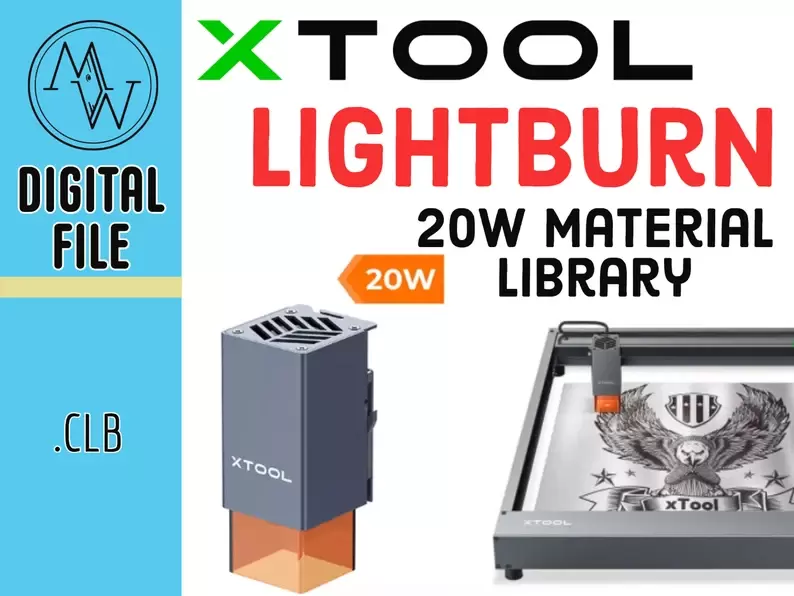
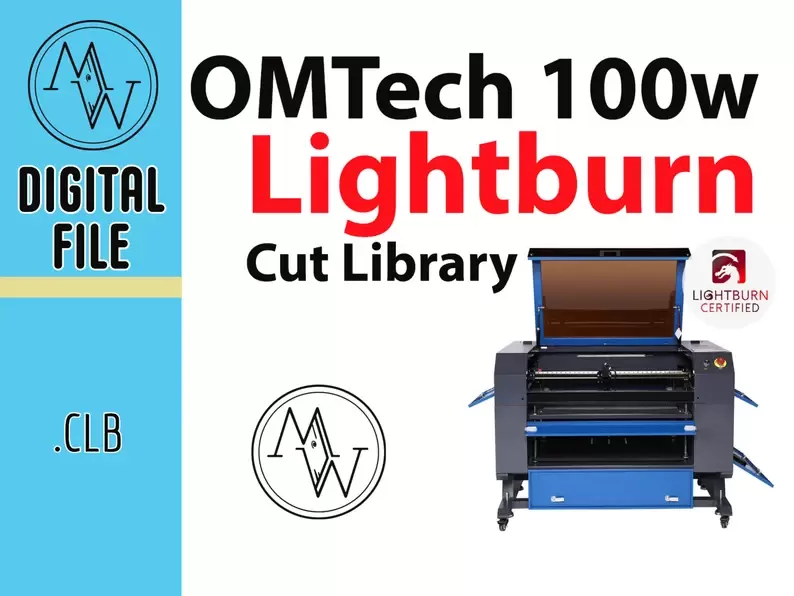
This is an instant digital download! You must 'load' the file iin the 'library' tab of Lightburn.
Has the following materials:
Acrylic
Birch Plywood
Cardboard
Doormat
Hardboard
Leather
MDF
Oak
Yeti Powder Coat
LightBurn's Material Library provides a way to store and organize lots of presets for different operations on different materials, and have a way to quickly apply them. This is entirely user-generated - You set up a cut layer however you like and save it to a Library. You set a material type, thickness (if appropriate), and a short description.
Every file in one place. | 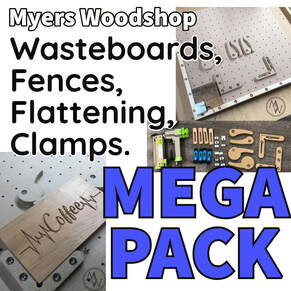 Myers Woodshop CNC Wasteboard MEGA pack! |
This file now includes premade Vectric files as well! It also includes EVERY size wasteboard! No matter what size Shapeoko, Onefinity, Xcarve, millright, oozenest, shark, cnc4newbies or others, this will have a size that will fit your hobby cnc!
For use on ALL hobby CNC machines including: Shapeoko, Onefinity, XCarve, Millright, Oozenest, CNC4Newbies, Shark, and many more!
These file types for each item include:
.crv (vectric, paid) design files (includes shapes AND toolpath information). Ready to run, just click 'create gcode' (with the proper post processor for your machine) and cut!
.c2d (carbide create, free) design files (includes shapes AND toolpath information). Ready to run, just click 'create gcode' (with the proper post processor for your machine) and cut!
.svg (vector images (shapes only, do not carry toolpath info) (for use with all other CAD design software)
.dfx (vector images (shapes only, do not carry toolpath info) (for use with all other CAD design software)
Includes:
Wasteboard: 16x16, 24x24, 31x16, 31x31, 48x32
Flattening: 16x16, 31x16, 31x31, 48x32
Fence: 16x16, 31x16, 31x31, 48x32
Cam Clamps
Corner Clamps
Straight Clamps
L Clamps
Please check out these videos for help with creating and understanding the differences between file types
1) https://www.youtube.com/watch?v=6OoMsJezGUc (wasteboard)
2) https://www.youtube.com/watch?v=RdoqXafKOW0 (fence)
3) https://www.youtube.com/watch?v=0GKKOPvAH60 (common mistakes on CNC)
4) https://www.youtube.com/myerswoodshop
I've put together an ever evolving Amazon list of CNC stuff I think is useful or necessary here:
https://www.amazon.com/shop/myerswoodshop
Want to support my work (like the upcoming V2 of the wasteboard?)
Consider Supporting me on Patreon:
https://www.patreon.com/myerswoodshop
Listen to my Podcast (the build guild podcast) here:
www.thebuildguildpodcast.com
Find me on the internet:
www.myerswoodshop.com
www.youtube.com/myerswoodshop
www.instagram.com/myerswoodshop
www.facebook.com/myerswoodshop
www.facebook.com/MyersWoodshop/groups/
www.tiktok.com/myerswoodshop
Files created by:
Vectric 11
Carbide Create V620
Last Updated 10/12/2021
Copyright Myers Woodshop 2021
| If you're like me, you sell goods online and ship around the world. I sell quite a bit of my woodworking tools on my Etsy shop. I used to print every label on my inject printer. It would take forever to print one page and I constantly felt like I was buying more ink than I was using. That quickly changed once I found this little thermal label printer! | 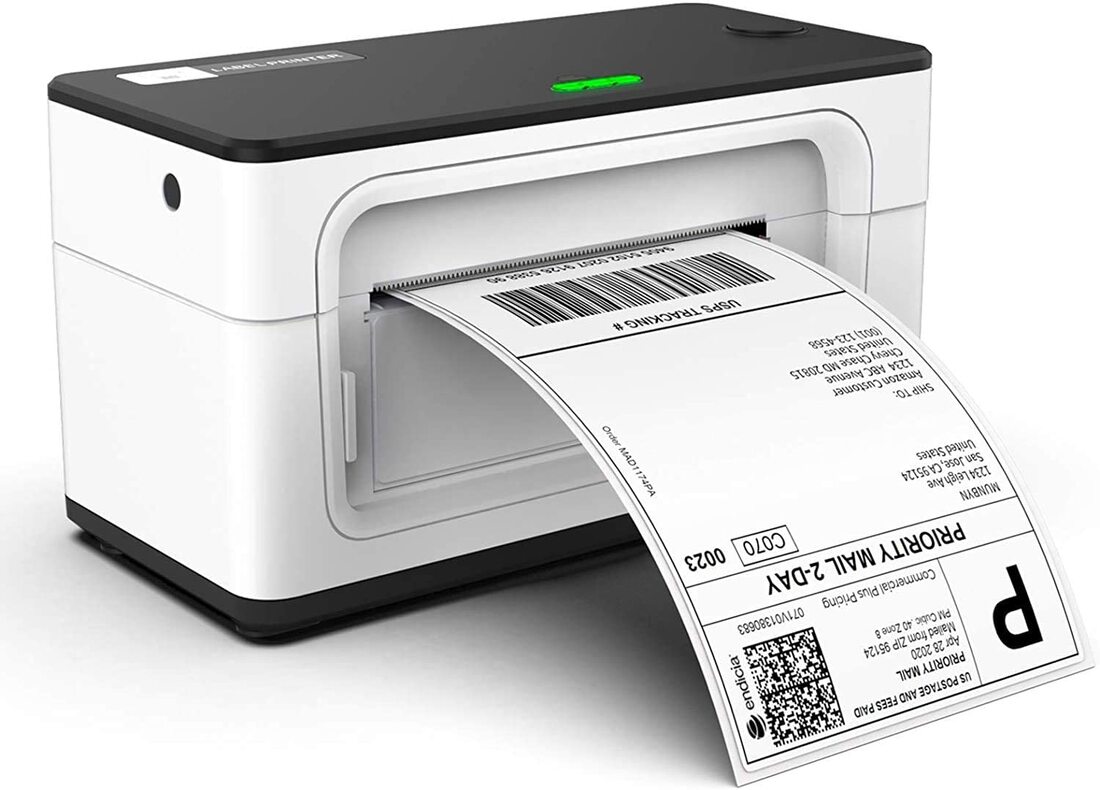 Click to buy thermal printer |
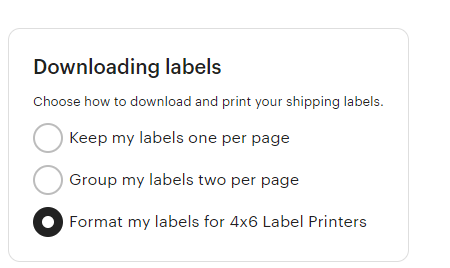 | Since I manly ship on Etsy, it was very easy to setup. Once I installed the driver, simply go into Etsy shop manager, settings, shipping settings, and look under Shipping label preferences. There is a section that says 'downloading labels'. Simply choose, "format my labels for 4x6 label printers' and your set up! Easy as pie. |
| Another bonus of the thermal printer is the cost per label. I purchased the thermal roll (click picture to the right to purchase) and it will do 220 labels for around $10. Since there is no ink, it's much more economical than traditional inkjet printers and the cost of paper, ink, and tape to apply the label. The rolls are basically a sticker, so just peel off and apply it to your shipping package. MUNBYN 4"x6" Direct Thermal Shipping Label Compatible with Dymo Labelwriter 4XL 1744907,1755120, Perforated Postage Label Paper for MUNBYN, Dymo, Rollo, Zebra, Permanent Adhesive, 220 Labels/Roll | 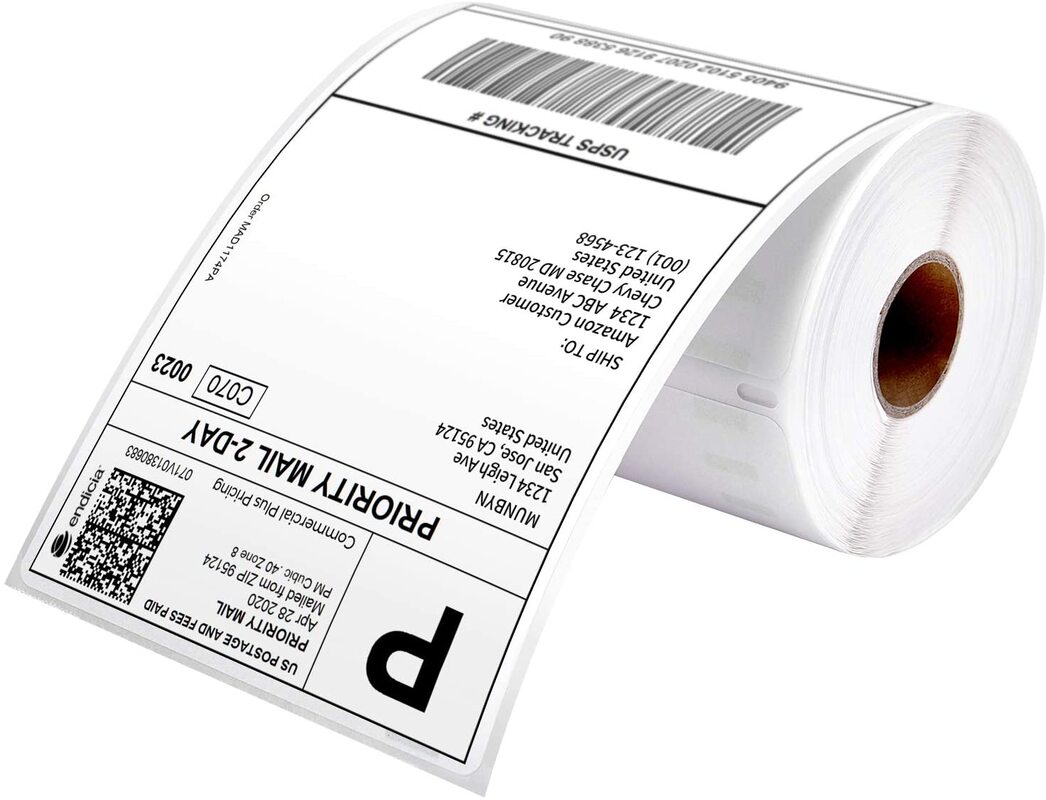 Click to buy thermal paper |
Here is the Munbyn ITPP941 Thermal Printer Driver:
*I'll be updating this post in the future with MUCH more info. For now, enjoy the video!*

Categories
All
3D Printing
CNC
Deals
Featured Makers
Fiber Laser
Laser
Onefinity
Patreon
Podcast
Shipping
Shop Tour
The Build Guild Podcast
Tools
T-Shirts
Tundra
VR
Woodworking Projects
 RSS Feed
Archives
November 2023
June 2023
November 2022
August 2022
January 2022
November 2021
October 2021
March 2021
February 2021
January 2021
December 2020
November 2020
October 2020
September 2020
July 2020
June 2020
May 2020
April 2020
March 2020
February 2020
January 2020
November 2019
October 2019
September 2019
August 2019
July 2019
June 2019
May 2019
April 2019
March 2019
February 2019
January 2019
December 2018
October 2018
September 2018
August 2018