
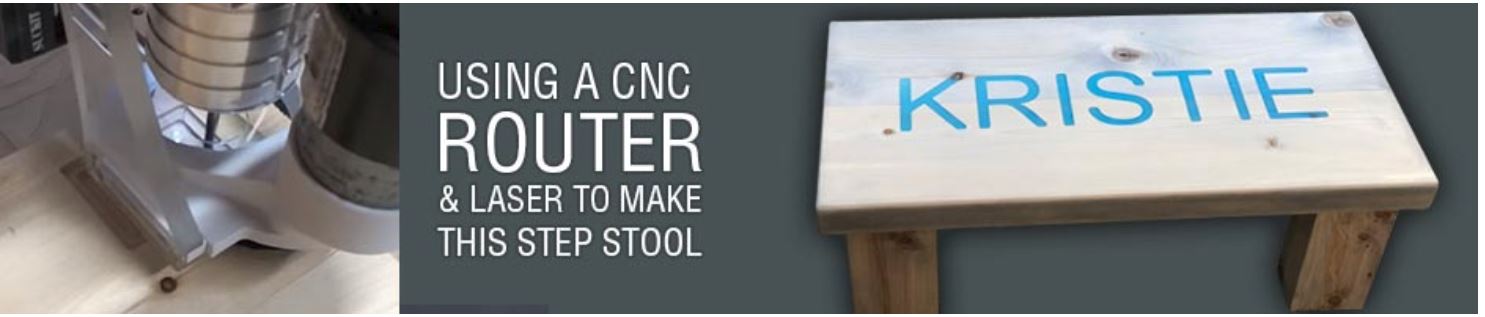
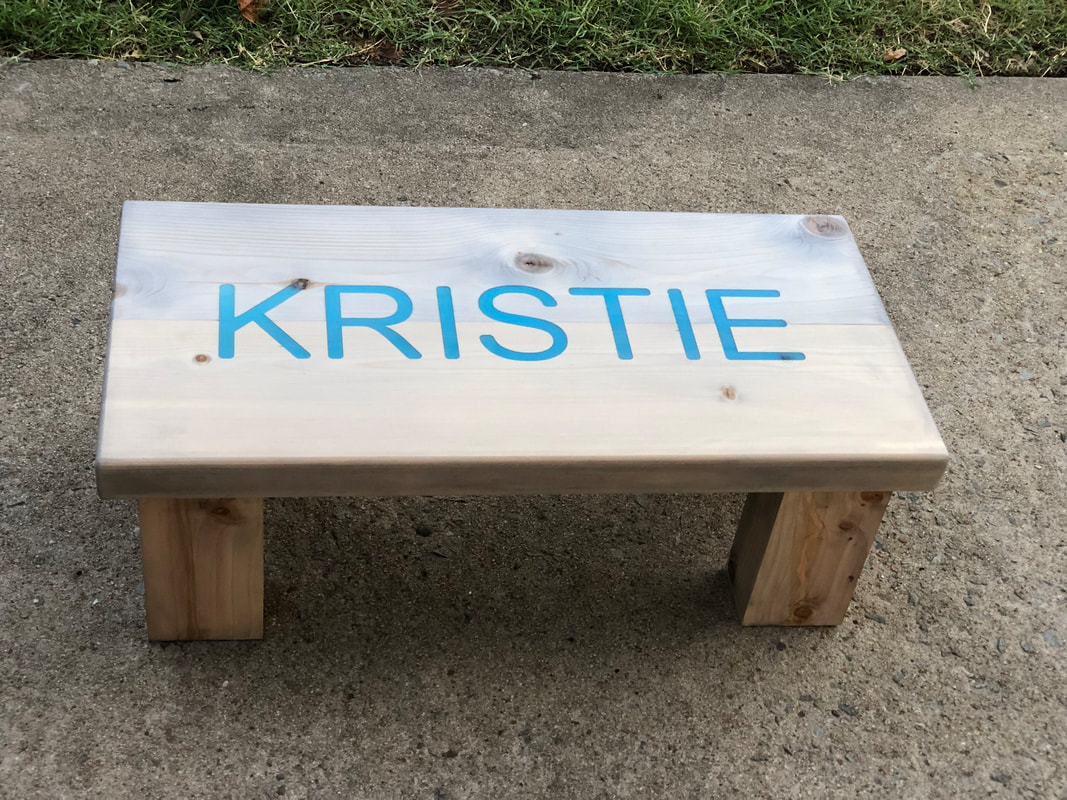
  I needed to create a simple step stool for my grandmother so she could reach the top kitchen cabinets. As my family ages we grow shorter so we have many stools in our homes. I thought I’d take this stool to the next level by adding some personal touches. The first step was taking two 2x6 boards and gluing them together. After taking them out of the clamps, I placed it on the CNC and routed out the letters to her name. I went about 1/4 depth using the #46415-k ¼ down cut bit. After it was cut out I mixed up some total boat epoxy with black diamond pigments cobalt blue and filled in the letters. Once dry, the top was run through the planer so the top was smooth and crisp.  Next step was to pocket out the four leg holes into the bottom of the stool top. I considered using screws but attaching the legs would have left visible screw heads in the top of the board. I could have used pocket screws but this would have a greater fail rate than recessing the legs and using a friction glue joint. I attached the top to the cnc bed using scrap plywood on all four sides as clamps. I drew out four equal rectangles on the four corners in Carbide Create. I loaded up the #46202-k ¼ down cut bit to pocket out the holes. I went half the distance of the top for the pocket depth. I wanted to end up with an overall height of 8”. This was the perfect height for my grandmother to be able to reach the top cabinets but also not be too tall and tip over. To find the distance of the legs, I had to calculate the total thickness of the top and then subtract the depth of the pocket I made for the holes. Once I got that number, I subtracted it from 8” and it left me with the total length each leg needed to be. 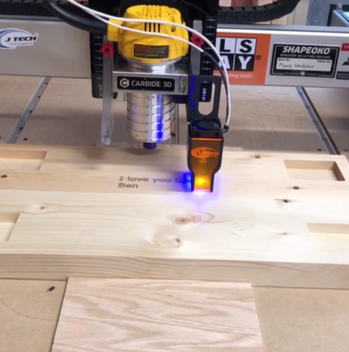 After running the pocketing program, it was time to personalize the bottom. I wanted to add a personal message to her. I have the add-on laser attachment from J-Tech (use code "myers" for 10% off) and it was time to put it to good use. After programming the simple letters, I ran the laser on the bottom in the center of the leg holes I just cut out. The lasered letters can be sanded and stained and still show up on the board. If you’re going to paint, I would suggest doing this step after application of the paint. 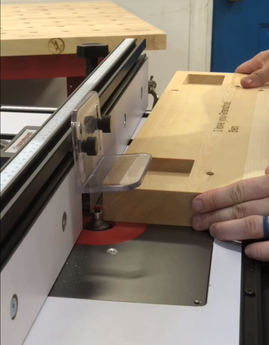 After finishing the CNC and Laser work it was time to complete the stool top. The last step of the top was to put a simple round over on the top and bottom of the stool. I got the #49504 round over bit and installed it in the router table. This put a smooth rounded edge on the stool, especially good to keep from stubbing your toes. This step could easily be done with a palm router, sander, or hand plane if you don’t have a router table. 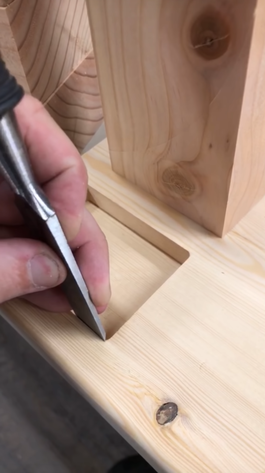 Time to cut out some legs! I took 2 2x6’s and laminated them together. Laminating is the process of gluing up multiple boards to make a wider plank. After a night in the clamps, I took them out and cut them to size on the table saw. The first step was to joint one side of the leg. Then jointing the opposite side. I opted to use my table saw for this process because it would be much faster than using my actual jointer. I placed the legs on the cross-cut sled to cut them to size. This could also be done using a miter saw. I wanted the overall height of the stool to be 8”. I took a quick clamp and used it as a stop block on the cross-cut sled. This allows for quick and consistent cuts. I cut 4 equal length leg pieces. It was time to fit the legs inside the recess we cut on the cnc machine. Unfortunately, the pocket hole cut by a round bit leaves rounded edges. The legs are square, which meant either rounding over the legs or squaring up the pocketed holes. I decided to use a chisel and square off the edges. This was simple and fast. Once squared, the legs fit perfectly into the recess. I used gorilla wood glue and covered the pockets and glued the legs in. I placed the stool on the floor face down and put a board with weight on top of the legs so the glue wouldn’t run down the legs with gravity. 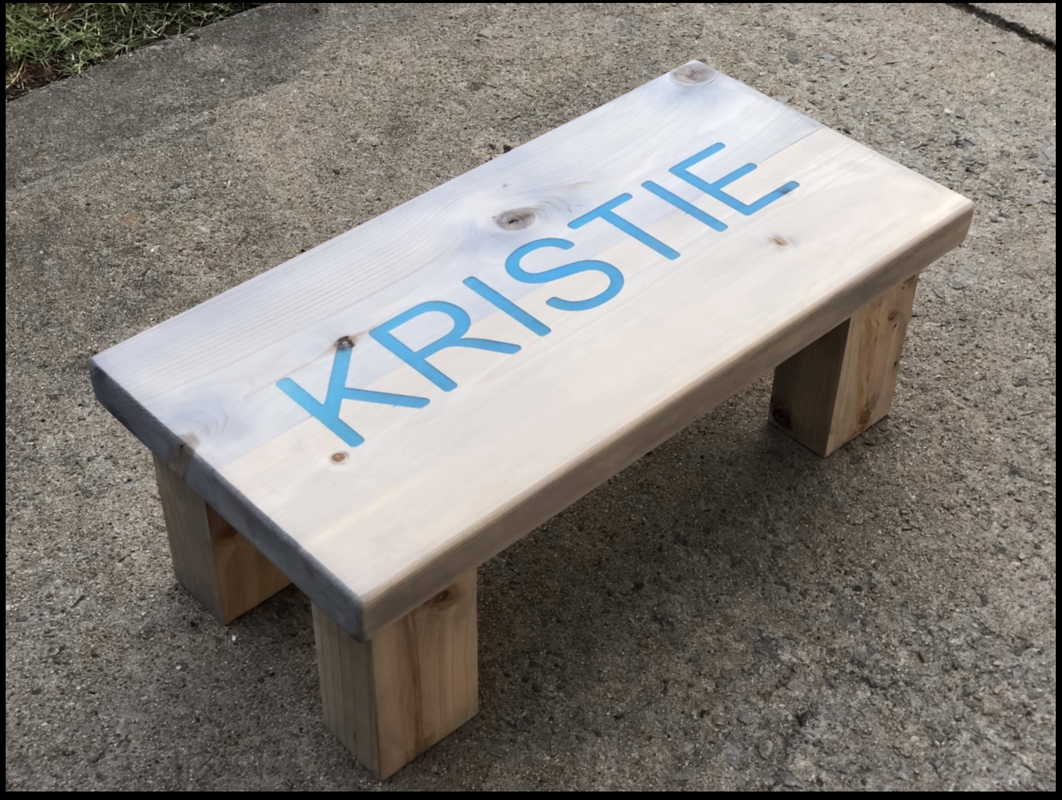 The final step was choosing a finish. This project was made from left over 2x6 pine planks I had. Pine has very different grain and staining can come out very blotchy. I wanted the wording to really stand out so I decided to use weathering wash to give it a slight color and a rustic look. Verathane wood ager gave it just the look I was going for. There was a hint of blue to the tint that really accented the blue resin that I used. This really made the epoxy stand out and shine. No more struggling to reach those top shelves! You can watch the full build video below.
2 Comments
7/26/2019 05:13:19 pm
That's so cool that you can use the router to fabricate things like a sign or a stool, in this case. My husband has been thinking about starting a little Etsy side business. We'll have to see if we can find someone that has a CNC router to help with the production process.
ben myers
7/29/2019 07:40:05 pm
its a great way to make side money! Leave a Reply. |

Categories
All
“As an Amazon Associate I earn from qualifying purchases.”
Archives
November 2023
|
 RSS Feed