|
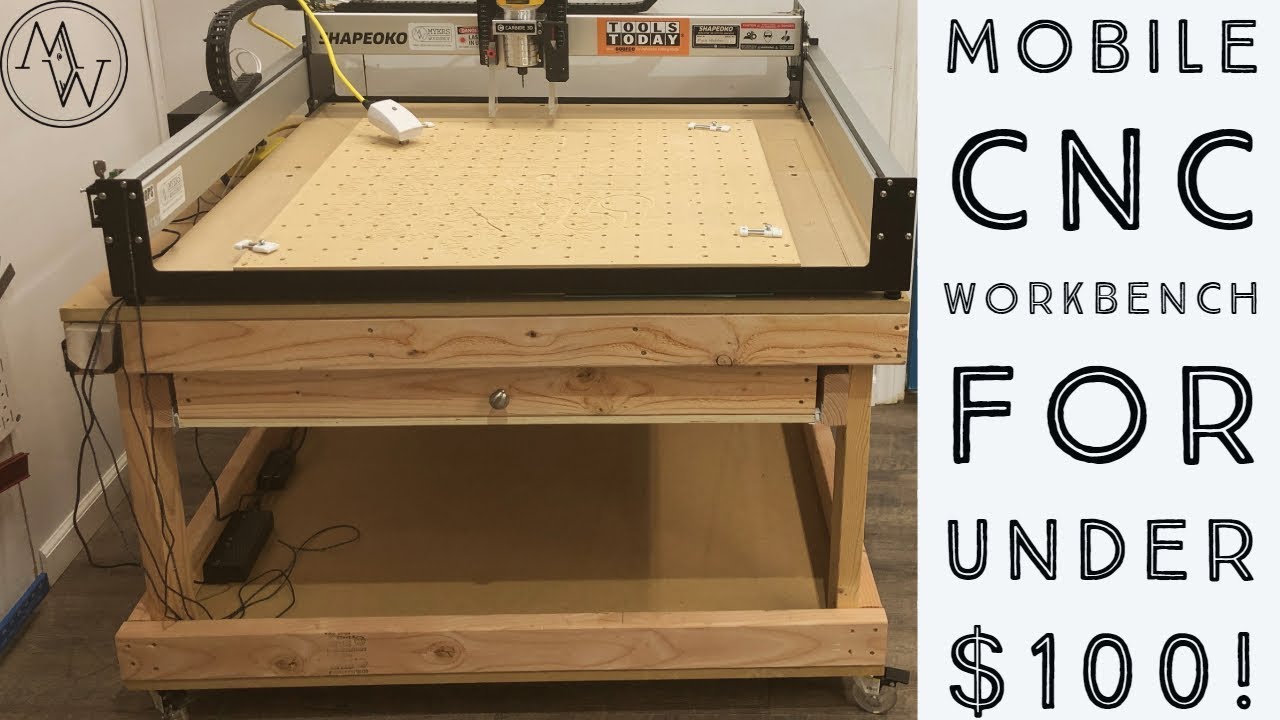
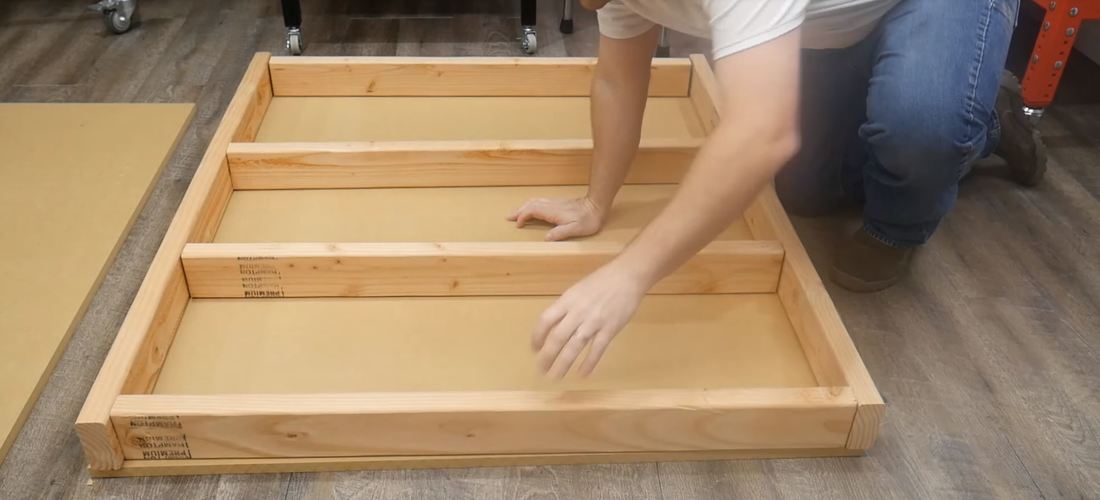
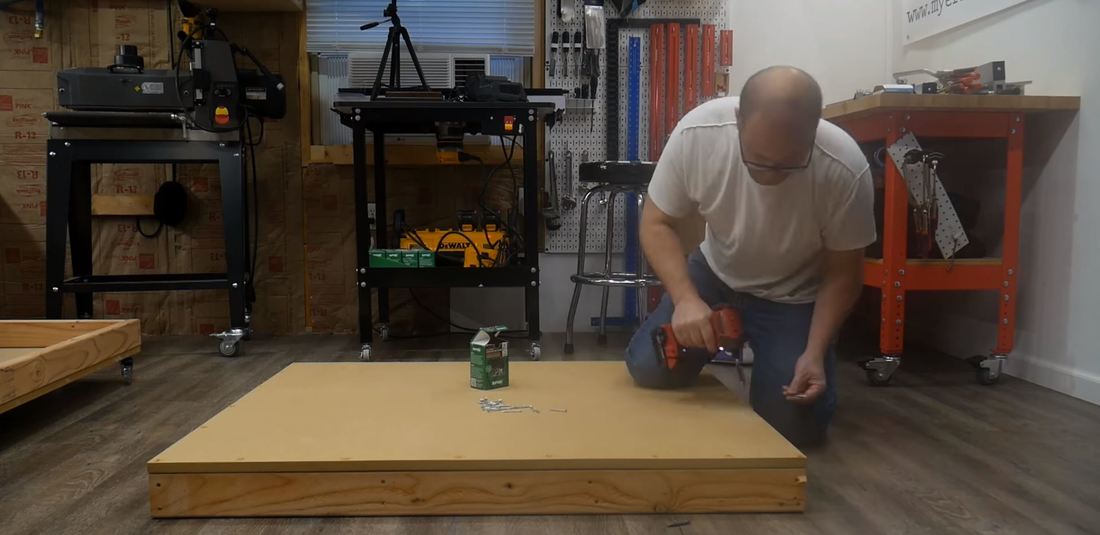
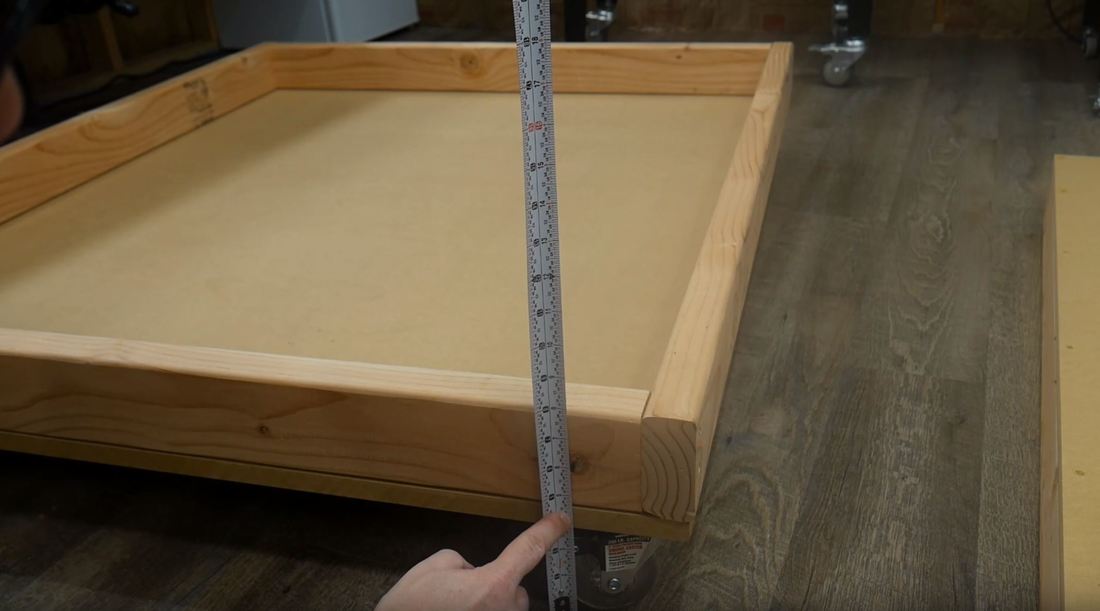
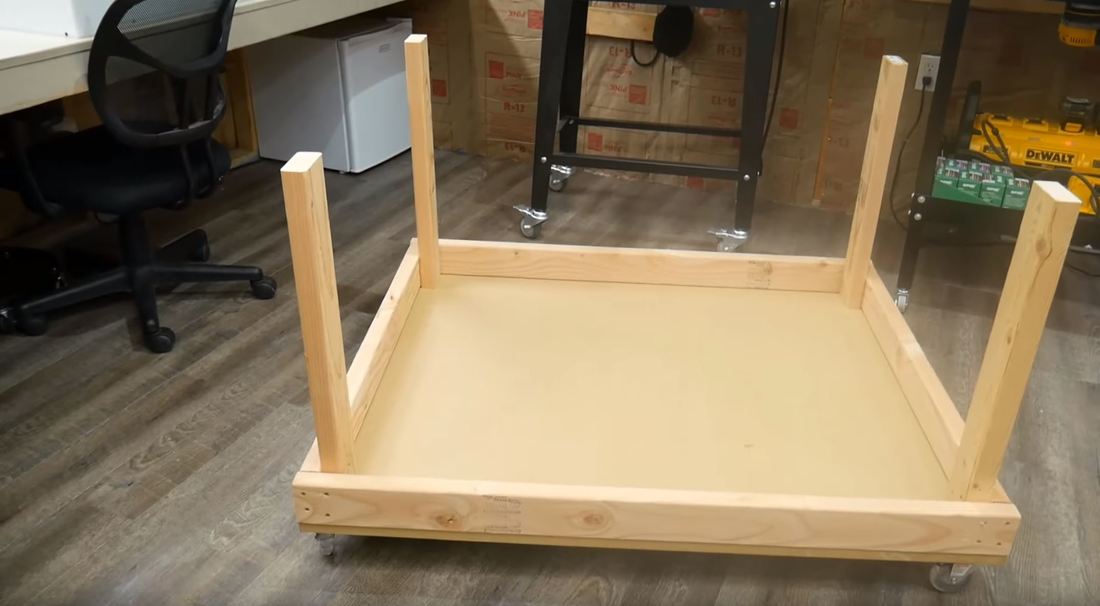
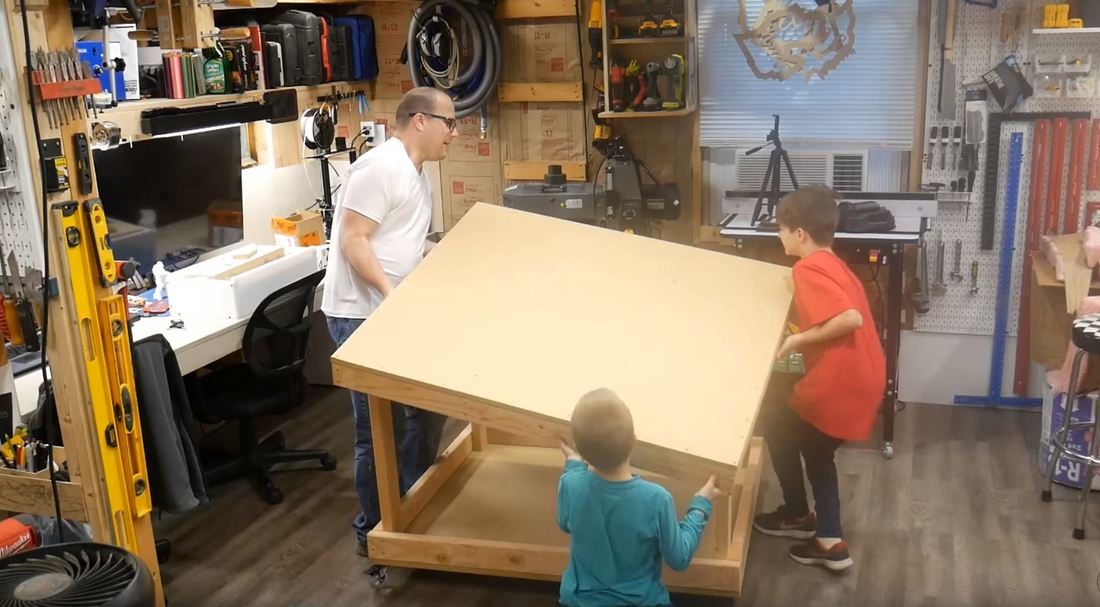
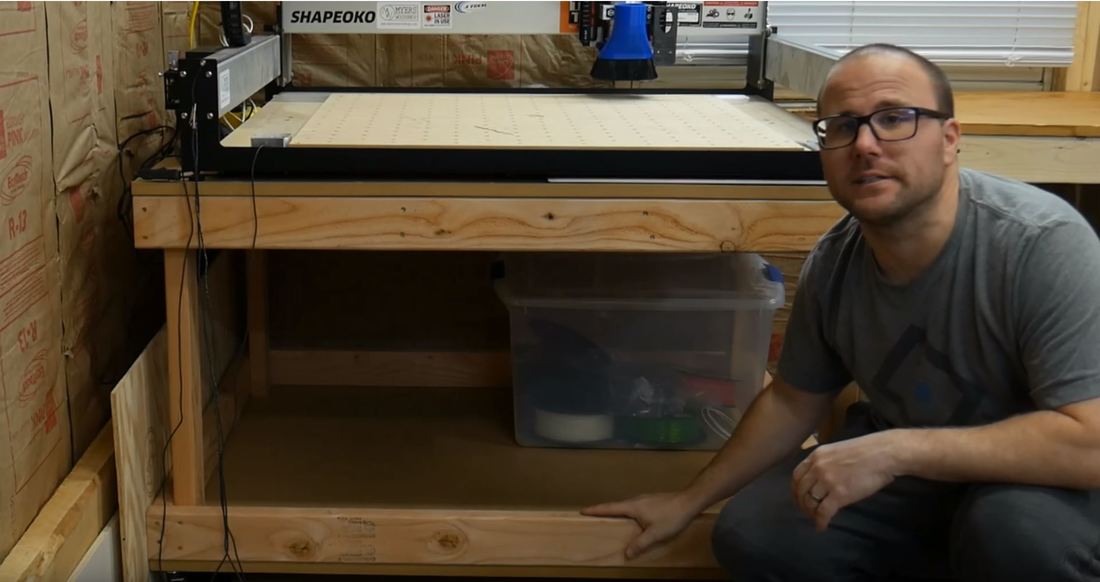
I needed a mobile workbench for my heavy CNC machine. It's a shop build, so I don't want to spend a lot of time or money on it. I needed something quick and easy. I focused on making this build accessible to everyone's skill level and easy on the wallet. You could make this with only a drill and circular saw. I'll walk you through how to build it step by step. Total build time is around 1 hour. I built this to size specifically for my Carbide 3D Shapeoko XXL CNC machine, but you can put anything you'd like on it. It's perfect for the small shop where space is a premium. TOOLS / MATERIALS 1 Sheet of 4x8 3/4 MDF 7 2x4x8's 4 Casters Screws Links to Things I Used: ■ Casters : https://amzn.to/2Ly4DP9 ■ Miter Saw : https://amzn.to/2LC6932 ■ Impact Driver : https://amzn.to/2Si1wO3 ■ Spax 2-1/2" : https://amzn.to/2RkcMwc ■ Spax 1-1/4" : https://amzn.to/2RgqNuB ■ FastCap25 foot Lefty/Righty Measuring Tape : https://amzn.to/2V5ID2C First I ripped the sheet of MDF into two equal squares 48x42. I used a track saw to do this, A full sheet of MDF is really heavy so you might want a friend to help you move it and cut it. Next we're going to cut the 2x4's to create a box around the two rectangles of mdf we created. We need 4 @ 48 and 6 @ 39. I always make sure to cut the ends of the 2x4's before I use them because the factory end cuts are usually rough. We’re going to lay out the 2x4’s we just cut onto the mdf. We want to make sure we assemble the frame on the mdf sheets to ensure they are assembled flat. 2x4’s isn’t exactly the best material for fine furniture building. After making a square on both boxes, there will be 2 39” pieces that will go on one side, which will be the top shelf that the CNC machine will lay one. These will provide support to ensure the middle will not sag. I chose to use Spax #8 2-2/12” screws as they don’t require any predrilling and are high quality for a good price. Starting on the corner, I used two screws to attach the lumber. When I installed the support pieces, I just eyeballed them close enough to equally spaced out. It’s not essential to have them perfect for this project. I then flipped over both the bottom and top, making sure to keep the top side assembled on the mdf with the mdf. This will make sure it stays flat. I used Spax #8 1-1/4 screws to attach the mdf to the stud frame. When attaching the bottom, stay away from the corners as we’ll be attaching the casters after this and don’t want screws to be in the way. I did a screw about every 1 ½ to 2”. Don’t forget to screw into the support braces for the top piece. To do this, I looked at the side where the screws were located that we used to attach them to the sides and used a level as a strait edge. Then I drew a line across the top and installed screws along that line. Time for unavoidable math. We need to figure out how long to make the leg supports. I want the table to be 30” tall. To find this, we need to measure from the floor to the top of the mdf where the legs will sit. For the caster I used, this totaled 4 ½. We do the same for the top piece, adding the ¾ material from the top. 4 3/4 x 3/4 = 5 1/2. We then take our overall height of 30 and subtract the 5 1/2, 30-5 1/2 = 24 1/2. We now have the total length we need to cut our leg supports at. *(while my math is correct, my video math was wrong :P I accidentally wrote 4 1/2 instead of 4 3/4 in the video)* Back out to the miter saw station, we cut 4 2x4’s at 24 ¾. Once we have these, we bring them to the bottom shelf with the casters and place them vertically in the corners, making sure they all face the same direction. I secure them with 4 screws on the flat side, and two on the narrow side. Then I come back and do 2 screws from the inside out. The final part of the build Is placing the top with the center braces on top of the base we just completed. I tried to flip and lift this by myself, but it was just too wide and heavy. Prepare to have a helper (or 3 kids 😊 ) around for this step. You may need to push the rising leg supports together a bit to fit within the top frame. At this point we’ve completed the build, but if you want extra security you can screw the top frame to the leg supports. You did it! Build complete! I eventually added a small shelf to the underside of my table to hold all the bits and tools for the Shapeoko. This is a great blank space to modify to suit your needs. If you build this table, make sure to tag me on social media so I can see how you made it your own! Happy Building, Ben Watch the full build video below.
4 Comments
Gene Mohr
6/11/2019 10:37:23 am
Ben. I liked this so much that I built one for my Workbee 1KX1K CnC machine. What I would like to know is how did you add the drawer?
Reply
Steve
11/24/2019 05:03:56 pm
I see the drawer in the pictures but nothing showing how you installed the drawer. I got a Shapeoko about a month ago and your video's saved me big. they are my go to about everything Shapeoko and I'm considering once I have this down investing in a laser other than the Jtech 7w I have.
Reply
Steve
11/28/2019 03:38:17 pm
I notice you have a homemade bench next to your Shapeoko for our computer do you have a video on it?
Reply
Leave a Reply. |
Categories
All
“As an Amazon Associate I earn from qualifying purchases.”
Archives
November 2023
|


 RSS Feed