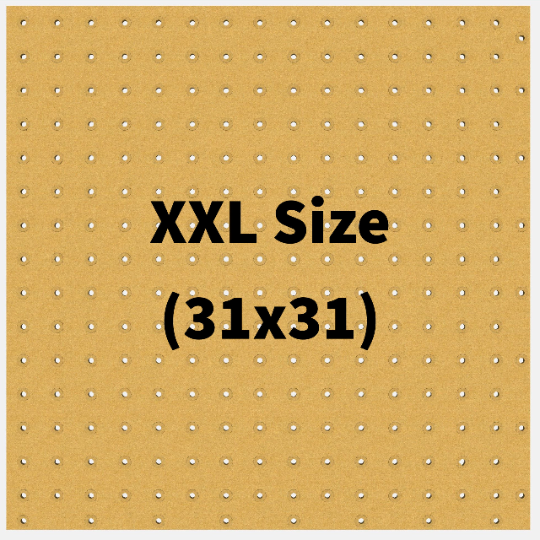
Threaded Wasteboard File. Cut Out Your Own Reusable Wasteboard. Shapeoko, X-Carve, or other Hobby CNC (XXL Size). .svg and .c2d included
*This file is for the XXL Size. If your need the XL size, please see my other listings*
Watch how to install it here: https://www.youtube.com/watch?v=6OoMsJezGUc
Many of you have seen my videos of me using my Shapeoko 3 XXL CNC and have seen my custom waste board. Although the file is made for the XXL it can easily be modified for any size CNC you have.
I have included the SVG file and the c2d file (carbide create).
You'll want to download this as it's preprogrammed for a 3/4 thick sheet of mdf at 31" x 31" (the max cutting area of a XXL).
When you open the file you'll be looking at the bottom of the waste board. The t-nuts come up from the bottom. The larger circle is the base (washer-like) part of the t-nut and the smaller hole is where the shaft of the t-nut will go through. I programmed the file to use a 1/4 up-cut bit. You'll want to place the sheet at the very front of the machine against the metal lip and make sure it's centered. When you cut, you'll want to make sure that you use dust collection and wear breathing protection (I recommend the RZ Mask) because MDF dust is extremely fine and very harmful.
After it's done cutting the file, i predrilled and countersunk a few holes around the waste board we just cut to screw it to the waste board that came with the machine. Make sure you sink these screws at least 1/2 way through the material. You don't want to accidentally hit them with a bit! The 3/4 mdf we just cut with our hole pattern is called a supplemental waste board. Why don't we just replace the waste board that came with our machine? We do this because we will eventually mark up the board with through cuts and get to a point that it will need to be replaced. Its much easier to unscrew a piece of mdf and replace the smaller board than take the whole machine apart and end up having to re-square the machine. Unfortunately, You'll have to purchase a full 4x8 sheet of mdf to get the piece we need.
On some setups you'll see people have a L shaped fence on the front left of their machine. This allows a very quick x,y zeroing because the same point will be used over and over. Its a great choice if your doing constant, repeat work and can be added to this waste board easily. I chose not to do this for two reasons: My work is never consistent, and I occasionally have pieces hang over the front and back of the machine (engraving table tops). Instead I use a set of Oops Clamps from Suck-it Dust Boot Company and place two of them in parallel to form a 'fence'. Not only are the extremely low profile, they are cheap and easy to replace if you have an oops situation.
If you end up making this waste board please tag me on social media or email me pictures of your set up! I love seeing how others do their work and what modifications make your workflow more successful!
Happy CNCing!
Ben
1/4 - 20 t nuts (you need 5 packs, 240 total nuts) - https://amzn.to/2KWDsx5
1/4 - 20 hex bolts - https://amzn.to/2UgneU5
1/4 - 20 washers - https://amzn.to/2KXoFST
Read more about it on my blog here : https://www.myerswoodshop.com/blog/wasteboard


