Add this to the start gcode under machine settings for the Artillery Sidewinder X1 in Cura slicer: ; Custom Start G-code G28 ; Home all axes G92 E0 ; Reset Extruder G1 Z2.0 F3000 ; Move Z Axis up little to prevent scratching of Heat Bed G1 X10 Y.5 Z0.3 F5000.0 ; Move to start position G1 X100 Y.5 Z0.3 F1500.0 E15 ; Draw the first line G1 X100 Y.2 Z0.3 F5000.0 ; Move to side a little G1 X10 Y.2 Z0.3 F1500.0 E30 ; Draw the second line G92 E0 ; Reset Extruder G1 Z5.0 F3000 ; Move Z Axis up little to prevent scratching of Heat Bed and let out nozzle pressure G1 X0 Y15 Z0.4; Move back to heat bed, sticking blob of filament down before travel move to free nozzle ; End of custom start GCode
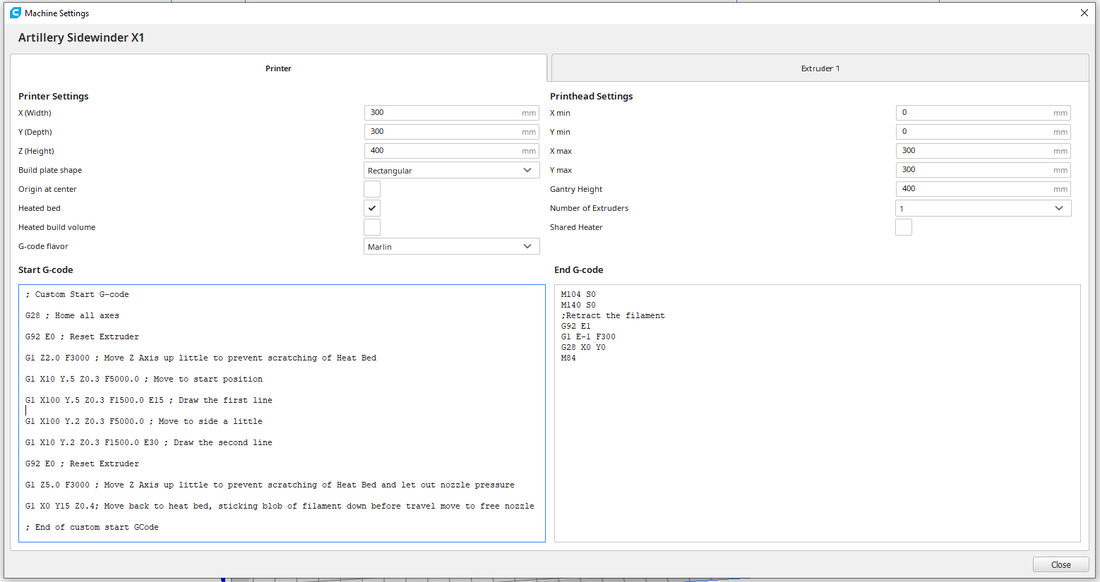
1 Comment
When the Covid-19 Virus locks down the world you hang out with your best friends. Since we can't be around other people, there's no guest host this time. Ben, Brian, And Coty discuss how the virus and its extraordinary circumstances affect their businesses. Ben's wife Molly also decided to start a book blog. https://www.leggingsandliterature.com/ Brian cannot teach remotely because he has no internet on his phone or at home. Be safe, Stay Happy, Hope. - The Build Guild
https://www.thebuildguildpodcast.com 
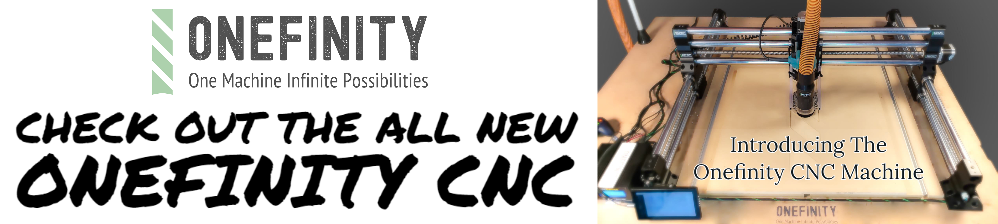
You guys know me for my work with the Shapeoko 3. It's been a good machine but with some caveats. Belt stretch and breaking, Z movement loosing steps, very heavy to move by yourself, and needing a computer to be constantly tethered to use it. In comes the Onefinity. Created by the people who make the Suck It dust boot, this machines solves all the major faults of the Shapeoko and Xcarve. X, Y, and Z Axis use ball screws standard. Linear Bearings on all axis, no belts anywhere to be found. The controller is so powerful that it runs its own built in software so no computer needs to be connected to it to send or run files. Finally, no computer is needed in the dusty shop. I'm one of the first 'influencers' to receive this beast so make sure to be following me on Instagram, Facebook, and YouTube. I'll be sure to post lots of videos about the machine and its capabilities. Check out their announcement video below. You can find Onefinity CNC at www.onefinitycnc.com. Make sure to follow them on Instgram and Facebook as well @onefinitycnc. Can't wait to show you what it's all about! Happy Cutting! -Ben 
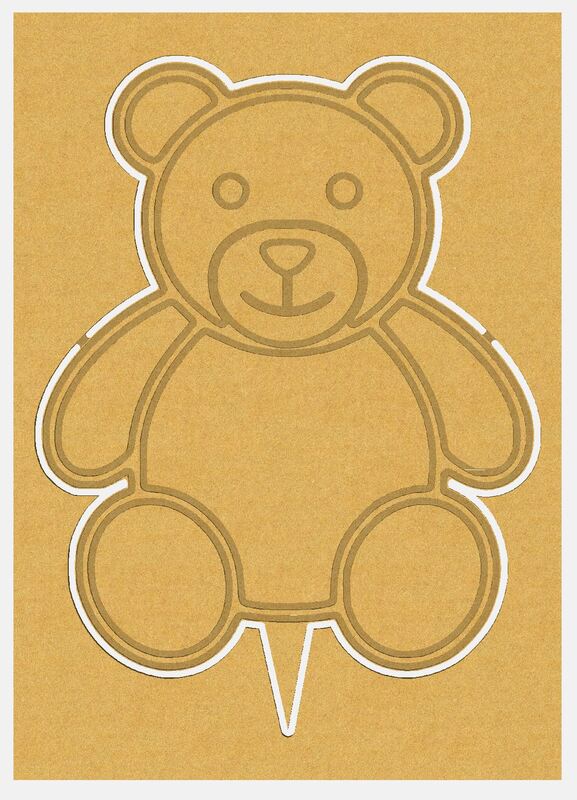
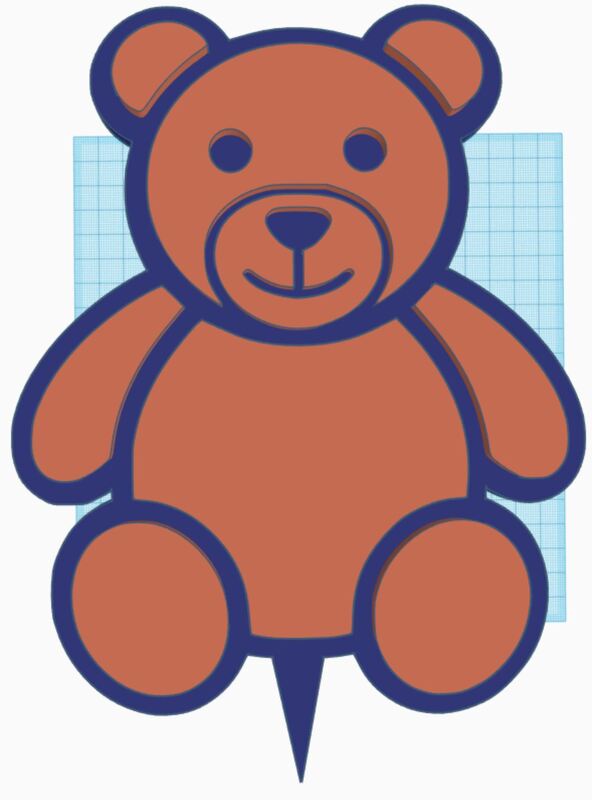
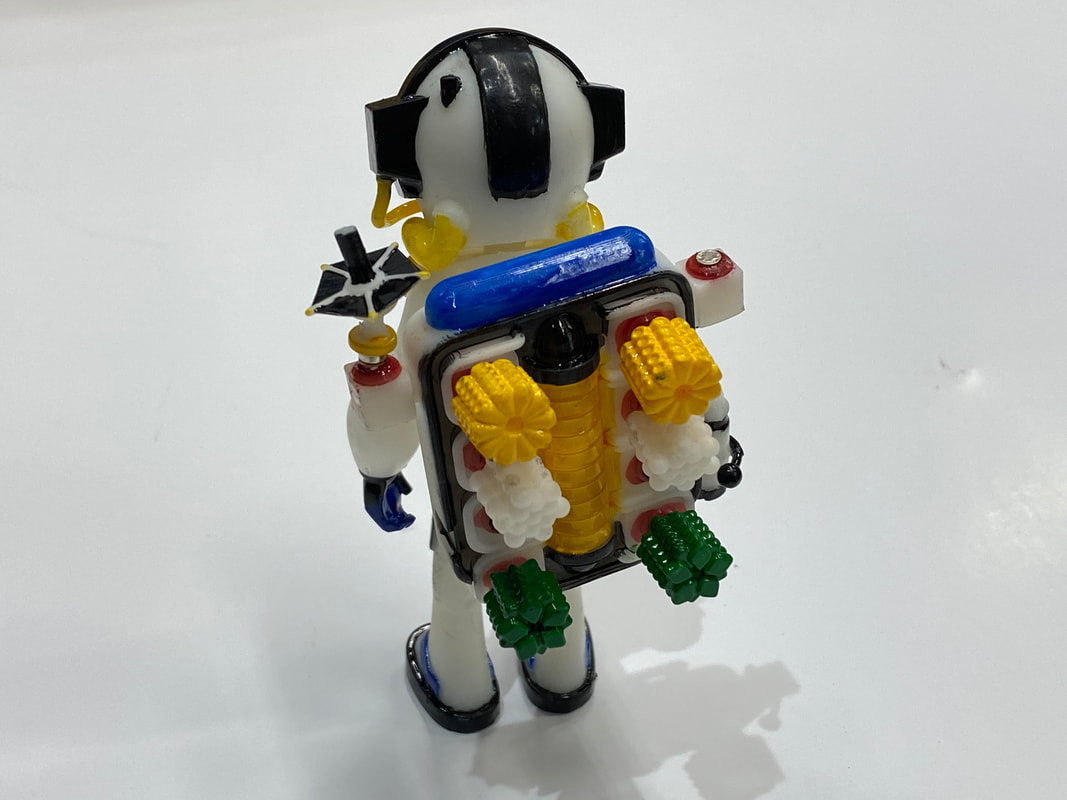
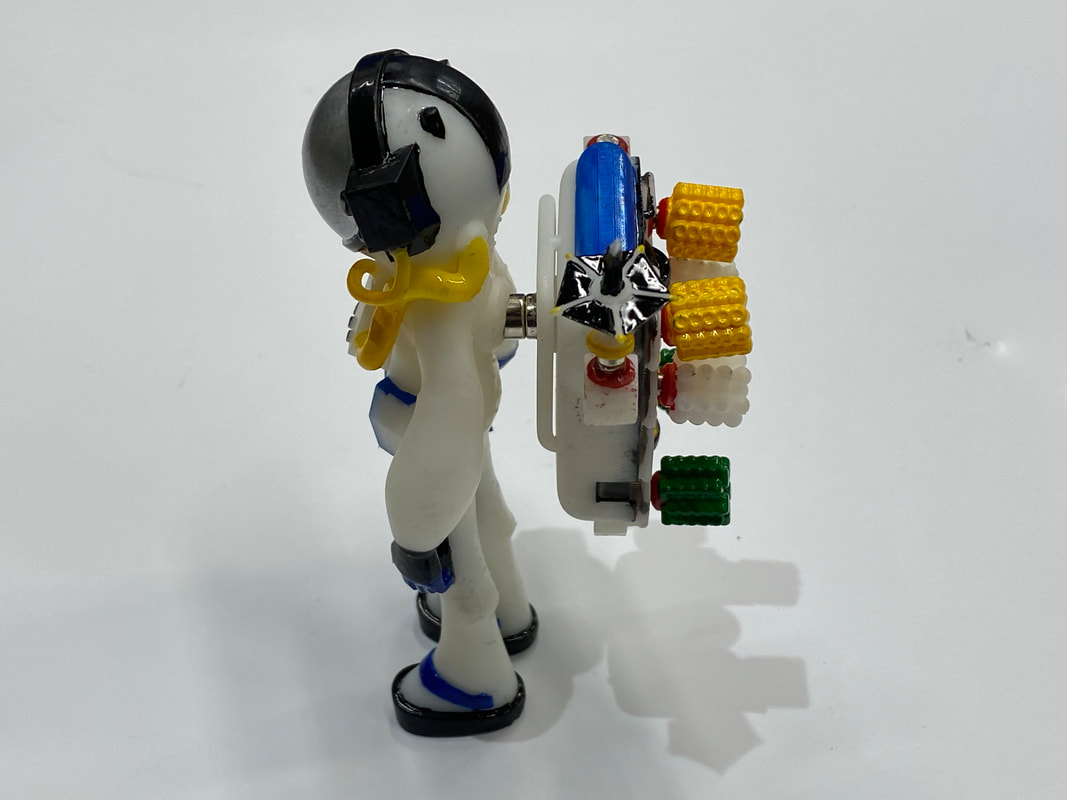
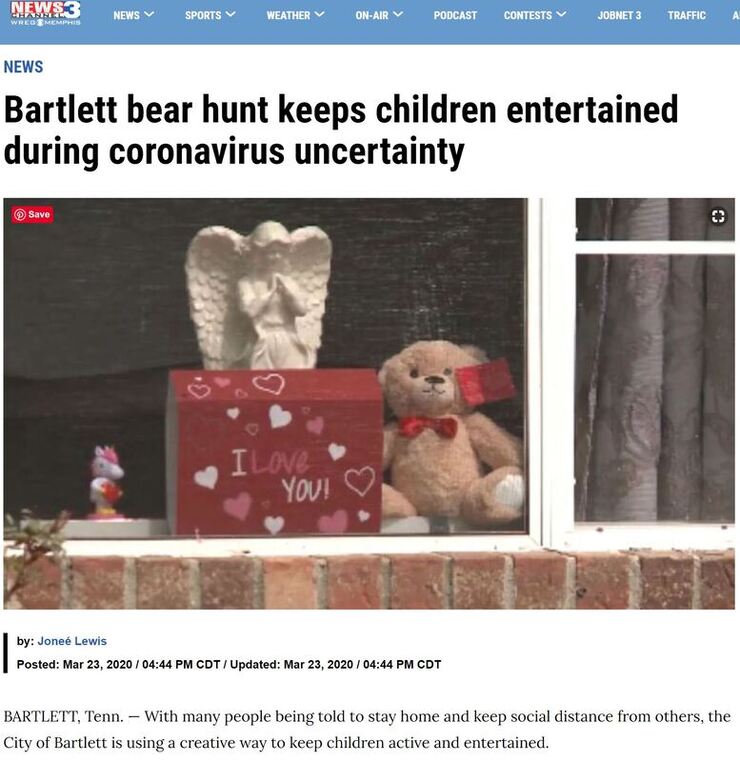
With all the crazyiness going on in the world during the corona virus, covid-19, I love the fact that people are hiding bears around their homes for children to 'hunt' for during walks and bike rides. I designed a very simple file that can be used on a cnc, laser cutter, 3d printer, vinyl cutter or just a regular everyday home printer that you can print out on paper for kids to color. Please feel free to use these files as you'd like. Please tag me, email me, or leave a comment on the socials so I can see what you do with the, @myerswoodshop. We're in this together! Let's bring a smile to the faces of children. -Ben *This is a ZIP file. You will need to 'unzip' the file to access the files*
Ben (Myers Woodshop) and Coty (Arganic Woodwork), two makers from central Arkansas, discuss their recent trip to Workbenchcon 2020, the conference for makers and content creators. They guys break it down by price, food, hotel, sponsorship's, vendors, classes, and meet ups. Ben gives his thoughts as a content creator and Coty as a full time production shop. Should you attend Workbenchcon next year? Listen as the guys discuss their thoughts and find out if you'll see them next year or not. After, we talk to Brian (Fiery Squirrel Art) about his thoughts on if he missed out or he goes in the future.
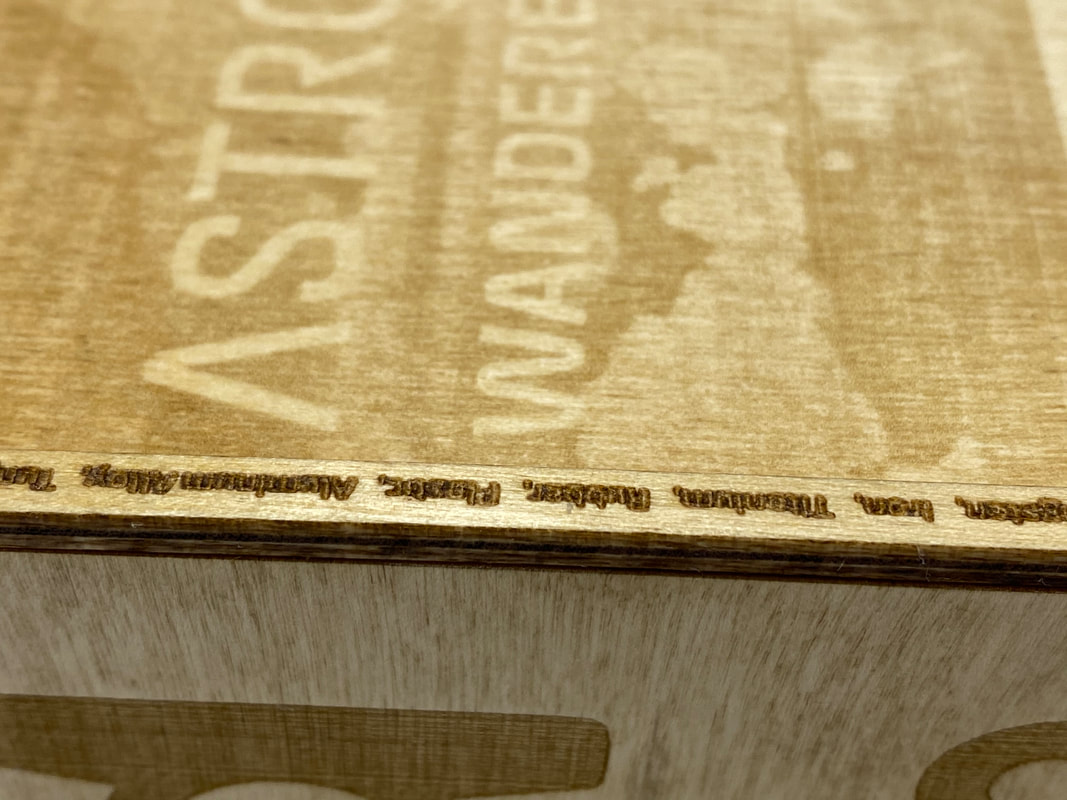
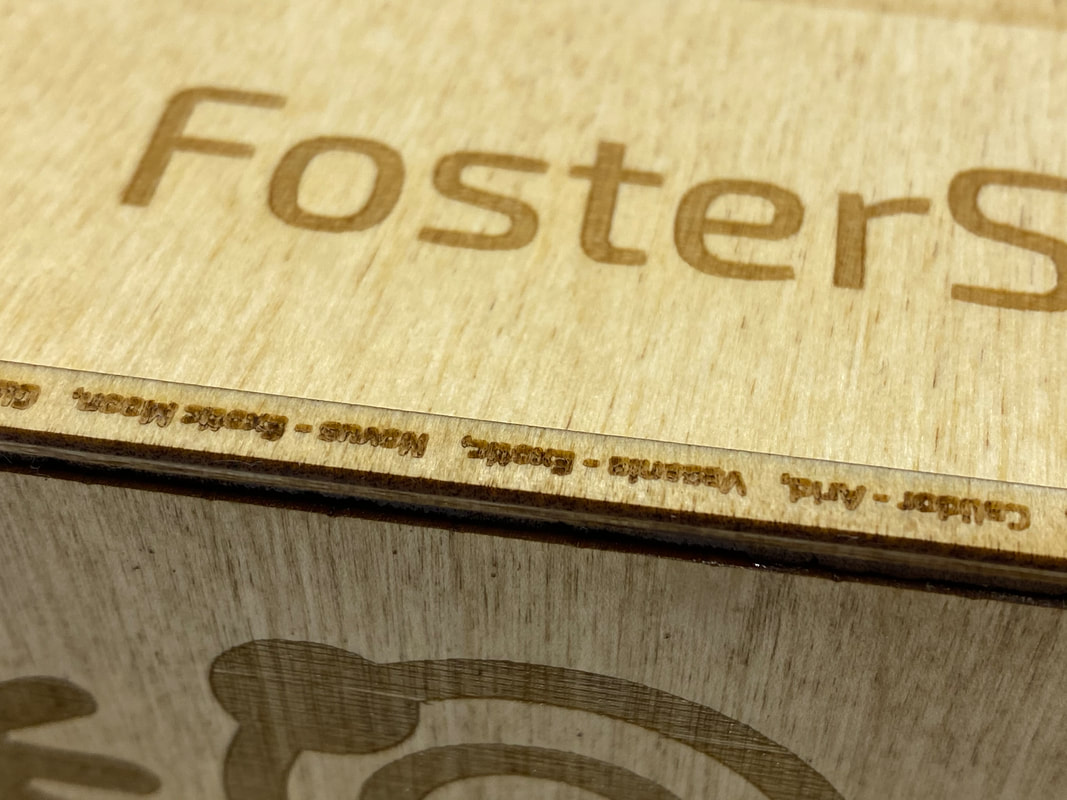
Also, Ben's wife Molly pulls an epic prank on him during the trip and also starts a book blog at https://www.leggingsandliterature.com/
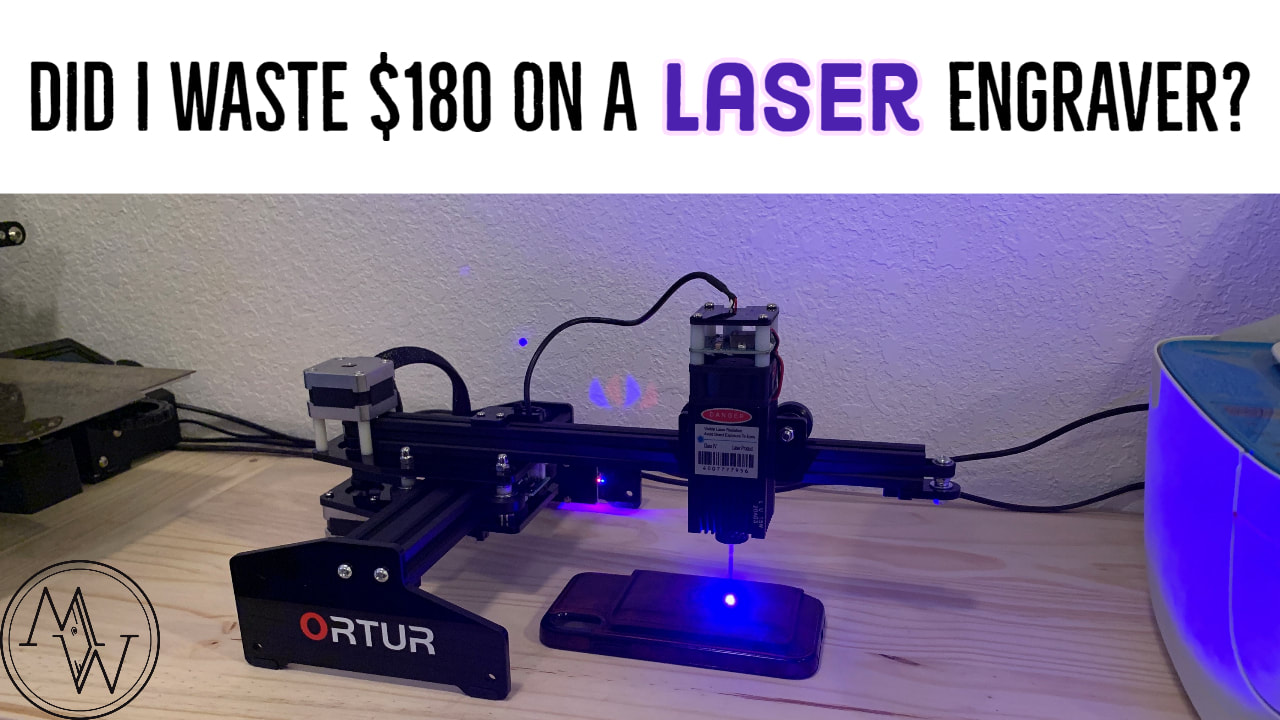
 Ortur 15 watt Laser Master. While this is listed as a 15 watt, that is the total power. The laser actually functions at a 4.5ish watt power, similar to my J Tech 4.2 Watt Laser. This laser is perfect for a beginner and expert. It's open frame allows it to be used almost anywhere! Ortur Laser Master is a portable laser engraving machine, which is easy to install and safe to operate. It has a built-in G-sensor. When the machine tilts, it will automatically stop laser work and protect against laser damage. Support for GRBL open source software for operating fun. It supports dynamic control laser module, and PWM power regulation, low brightness regulation. It's the first episode of the new year! The guys finally catch up after a nearly 3 month hiatus. They visit with Allen Horn. Allen is a pest control technician (he works with Ben) and a handy man. While Allen isn't full time or part time, he does several jobs throughout the year. From Decks to Fences to a fake baby grand piano, he does it all. He's learned from YouTube and HGTV. Yes, you really can learn from TV.
|
Use code "MYERSWOODSHOP" for 5% off! |
Did I Waste $2400 on a 60W Laser Cutter from China?
I did it. I took the leap and bought a 60w Orion Motor Tech Black and Yellow laser engraver/cutter on amazon!
https://omtechlaser.com/
Overall, I'm very impressed with this laser. The sweet spot for laser cutting and laser engraving is 60-80 watts. Higher watts and the engraving will not be as good because the laser is just too powerful. We're able to cut up to 1/2 material depending on the density. 1/4 material is easy to cut in one pass. We primarily use 1/4 birch plywood for our uses. Since this laser is a C02 laser, it will not cut ANY metal. You'd need a fiber laser for that, however it will mark on metal using thermal marking spray. It will cut cork, soft and hard wood, acrylic, cardboard, and paper. It will mark on glass, slate, stone, granite, and marble. Be careful you do not cut certain types of plastics as the release toxic gases and will kill you if inhaled.
Included with the laser:
- Two six-inch rubber ventilation ducts with hose clamps
- Water reservoir for cooling
- Water tubes
- Water pump
- Air pump
- Air blower
- Two activation keys
- Tool for opening all the doors and hatches
- Tool for measuring the focal distance of the laser from the cutting surface.
Control Panel
- Laser Switch
- Control Switch
- Ethernet Port
- Two USB ports (1 PC and 1 USB Disc)
Bottom Hatch - “The Guts”:
- Laser Tube Power Supply
- Power for rest of the electronics
- 110/220V switch (110 for America)
- 2 Controllers w/ heat sync
- Controller with USB and ethernet ports
Top Hatch:
- Controller Access – Allows access to the controller if you want/need to switch out the Ruida RD644S Controller
Power Plate (Back Bottom Left Corner):
- 110v power supply
- Optional: Grounding Wire, Water and Air Pump power supply
Air/Water Hookups (Back Bottom Right Corner):
- Water Inlet
- Water Outlet
- Air Inlet
Front and Back Bottom Hatches:
- Belt
Top Back Hatch:
- LASER TUBE
- Water cooling tubes
- Adjustable Mirrors for laser
Pass Through Ports:
- Door on front and back of cutting surface to fit larger pieces of material on the cutting surface
Cutting Area:
- Laser Head
- Metal honeycomb shaped bed
- More adjustable mirrors for the laser
- Air Assist – Blows air on the material where the laser is cutting to prevent fires
- Rails that allow the laser to move along the top of the bed (don’t touch these, they’re very greasy!)
- Knob for raising/lowering the bed and adjusting cut height
What’s in the mysterious zipper package?
- Ethernet cable
- Power cord (standard computer power cord)
- USB to USB cord
- CD with files/drivers
- White electrical tape
- Alan key set
- Silicone adhesive sealant
- Instruction Manual with instructions, tips and tricks (somewhat broken English)
Centrifugal Blower:
- Blows fumes from laser through ducts and out
Some things that didn’t come with the laser:
- S&A 5200 Chiller
- 6 Inch 390 CFM Inline Duct Fan (replacing the loud blower that came with the laser)
- Lightburn laser cutter software
Summary: This thing is awesome! So far, I’ve used it in making signs, home décor, 3D wooden models and so much more. I can cut through up to about 1/2” of wood depending on density and have started experimenting with etching on metal as well (you will need a spray to do so like THIS called Ceramark or Thermark ). Overall, this laser is a great buy, a great tool and all around fun to play with.
When your router won’t turn on, nine times out of ten, it’s because your brushes need changing! Here’s how to fix this problem in ten easy steps. Although this tutorial is for the Dewalt, it will also apply to the Bosch, Ridgid, and Makita routers as well. Since this is a widely used router for the Shapeoko 3 and Inventables XCarve CNC desktop routers, it's always good to have a few extra brushes on hand.
What you’ll need:
T-20 torx driver(preferred) or flathead screwdriver & some sort of pointy tool or hook for spring
Steps:
- Remove top four screws using t-20 or flathead screwdriver
- Locate the routers brushes by placing the router in front of you with the power cord facing away from you. While looking at the router from above, the brushes are located at six and nine o’clock on the router.
- Using your small hook or “pokey device’ remove the brush’s power supply clip by lifting it straight up and off.
- Once the clip is removed, working from the left side, use your pointy tool/hook to life the metal spring from the back, off of the brush, leaving it resting off to the right to allow access to the brushes.
- Gently remove the old brush by pulling on the power supply wire, sliding the brush out.
- Slide the new replacement brush in and attach the power clip. Use your small pointy tool once more to pull the spring back into place, securing the brush.
- Repeat steps 1-6 on the opposite side of the router (both sides are configured the exact same way).
- Place the top back on the router and tighten the screws.
- Test your router by switching it on!
A few extra tips:
- Use compressed air to blow dust buildup out of your router while the top is off!
- Always keep extra brushes on hand in case your router stops working in the middle of a job
TOOLS / MATERIALS
■ Dewalt DWP 611 Trim Router : https://amzn.to/2UspwmB
■ Dewalt DWP 611 Replacement Brushes : https://amzn.to/2Z4Rt2H
■ Bosch Colt Trim Router : https://amzn.to/2CisHSj
■ Bosch Router Brushes : https://amzn.to/36FtHxM
■ Ridgid Trim Router : https://amzn.to/32oW1kT
■ Ridgid Router Brushes : https://amzn.to/2Nn73CL
■ Makita Trim Router : https://amzn.to/2qx05C5
■ Makita Router Brushes : https://amzn.to/32h2gXS
Categories
All
3D Printing
CNC
Deals
Featured Makers
Fiber Laser
Laser
Onefinity
Patreon
Podcast
Shipping
Shop Tour
The Build Guild Podcast
Tools
T-Shirts
Tundra
VR
Woodworking Projects
Archives
November 2023
June 2023
November 2022
August 2022
January 2022
November 2021
October 2021
March 2021
February 2021
January 2021
December 2020
November 2020
October 2020
September 2020
July 2020
June 2020
May 2020
April 2020
March 2020
February 2020
January 2020
November 2019
October 2019
September 2019
August 2019
July 2019
June 2019
May 2019
April 2019
March 2019
February 2019
January 2019
December 2018
October 2018
September 2018
August 2018